User guide
Groups and clearing up
Keep elements together as a group, open a group to edit it, select by a region or a lasso in 3D, and hide what is in the way.
Groups
A group keeps elements together. Select them and click Modify → Create group (GP). A click on any member then selects the whole group, in plans and in 3D. The group moves, copies, rotates, mirrors and deletes as one, and a copy is a group of its own. In IFC a group is an IfcGroup, so other programs see it too.
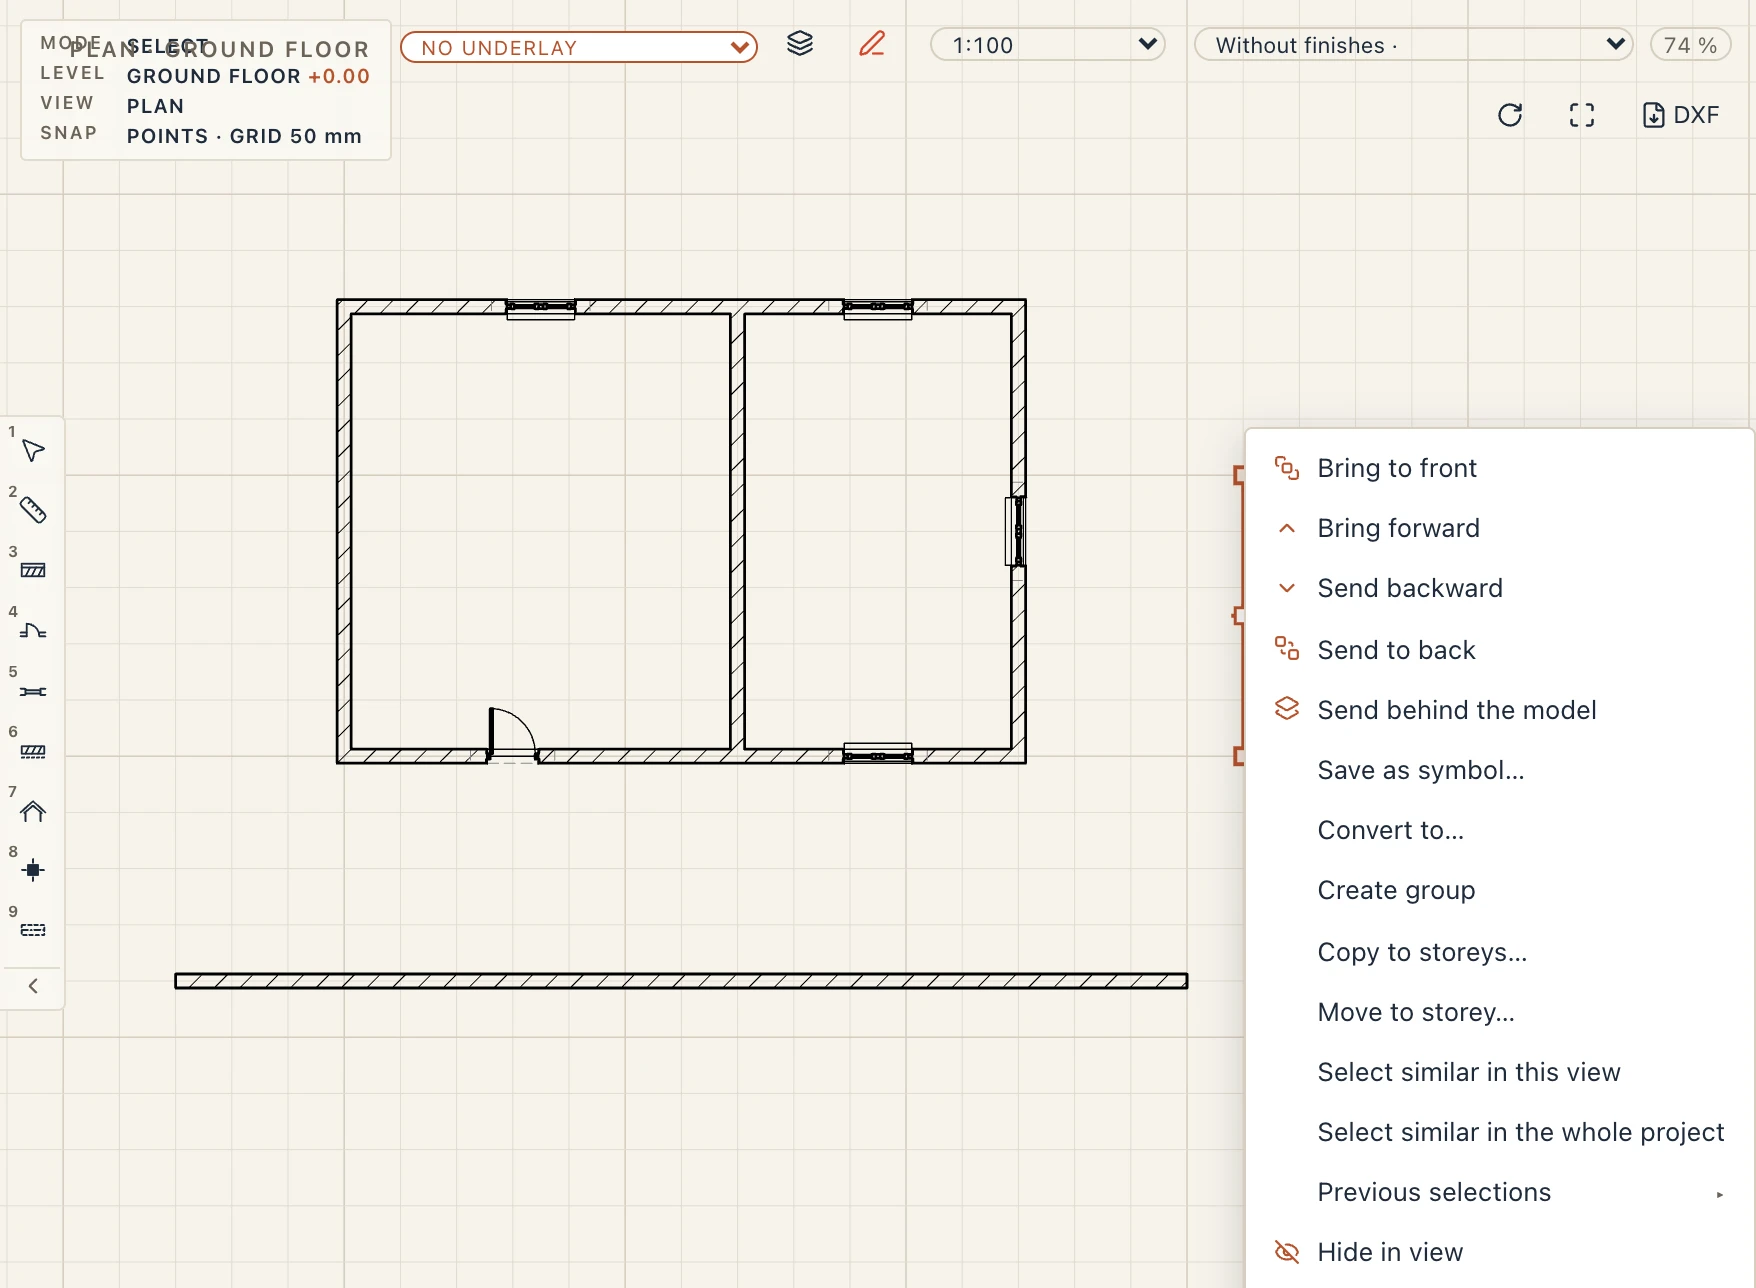
The right-click menu on a plan, a section or an elevation has the same commands: Create group for the selection, and on a group Ungroup and Edit group. Lines, texts and hatches drawn on a view group too, an imported DXF plan's lines among them, so a whole drawing moves as one.
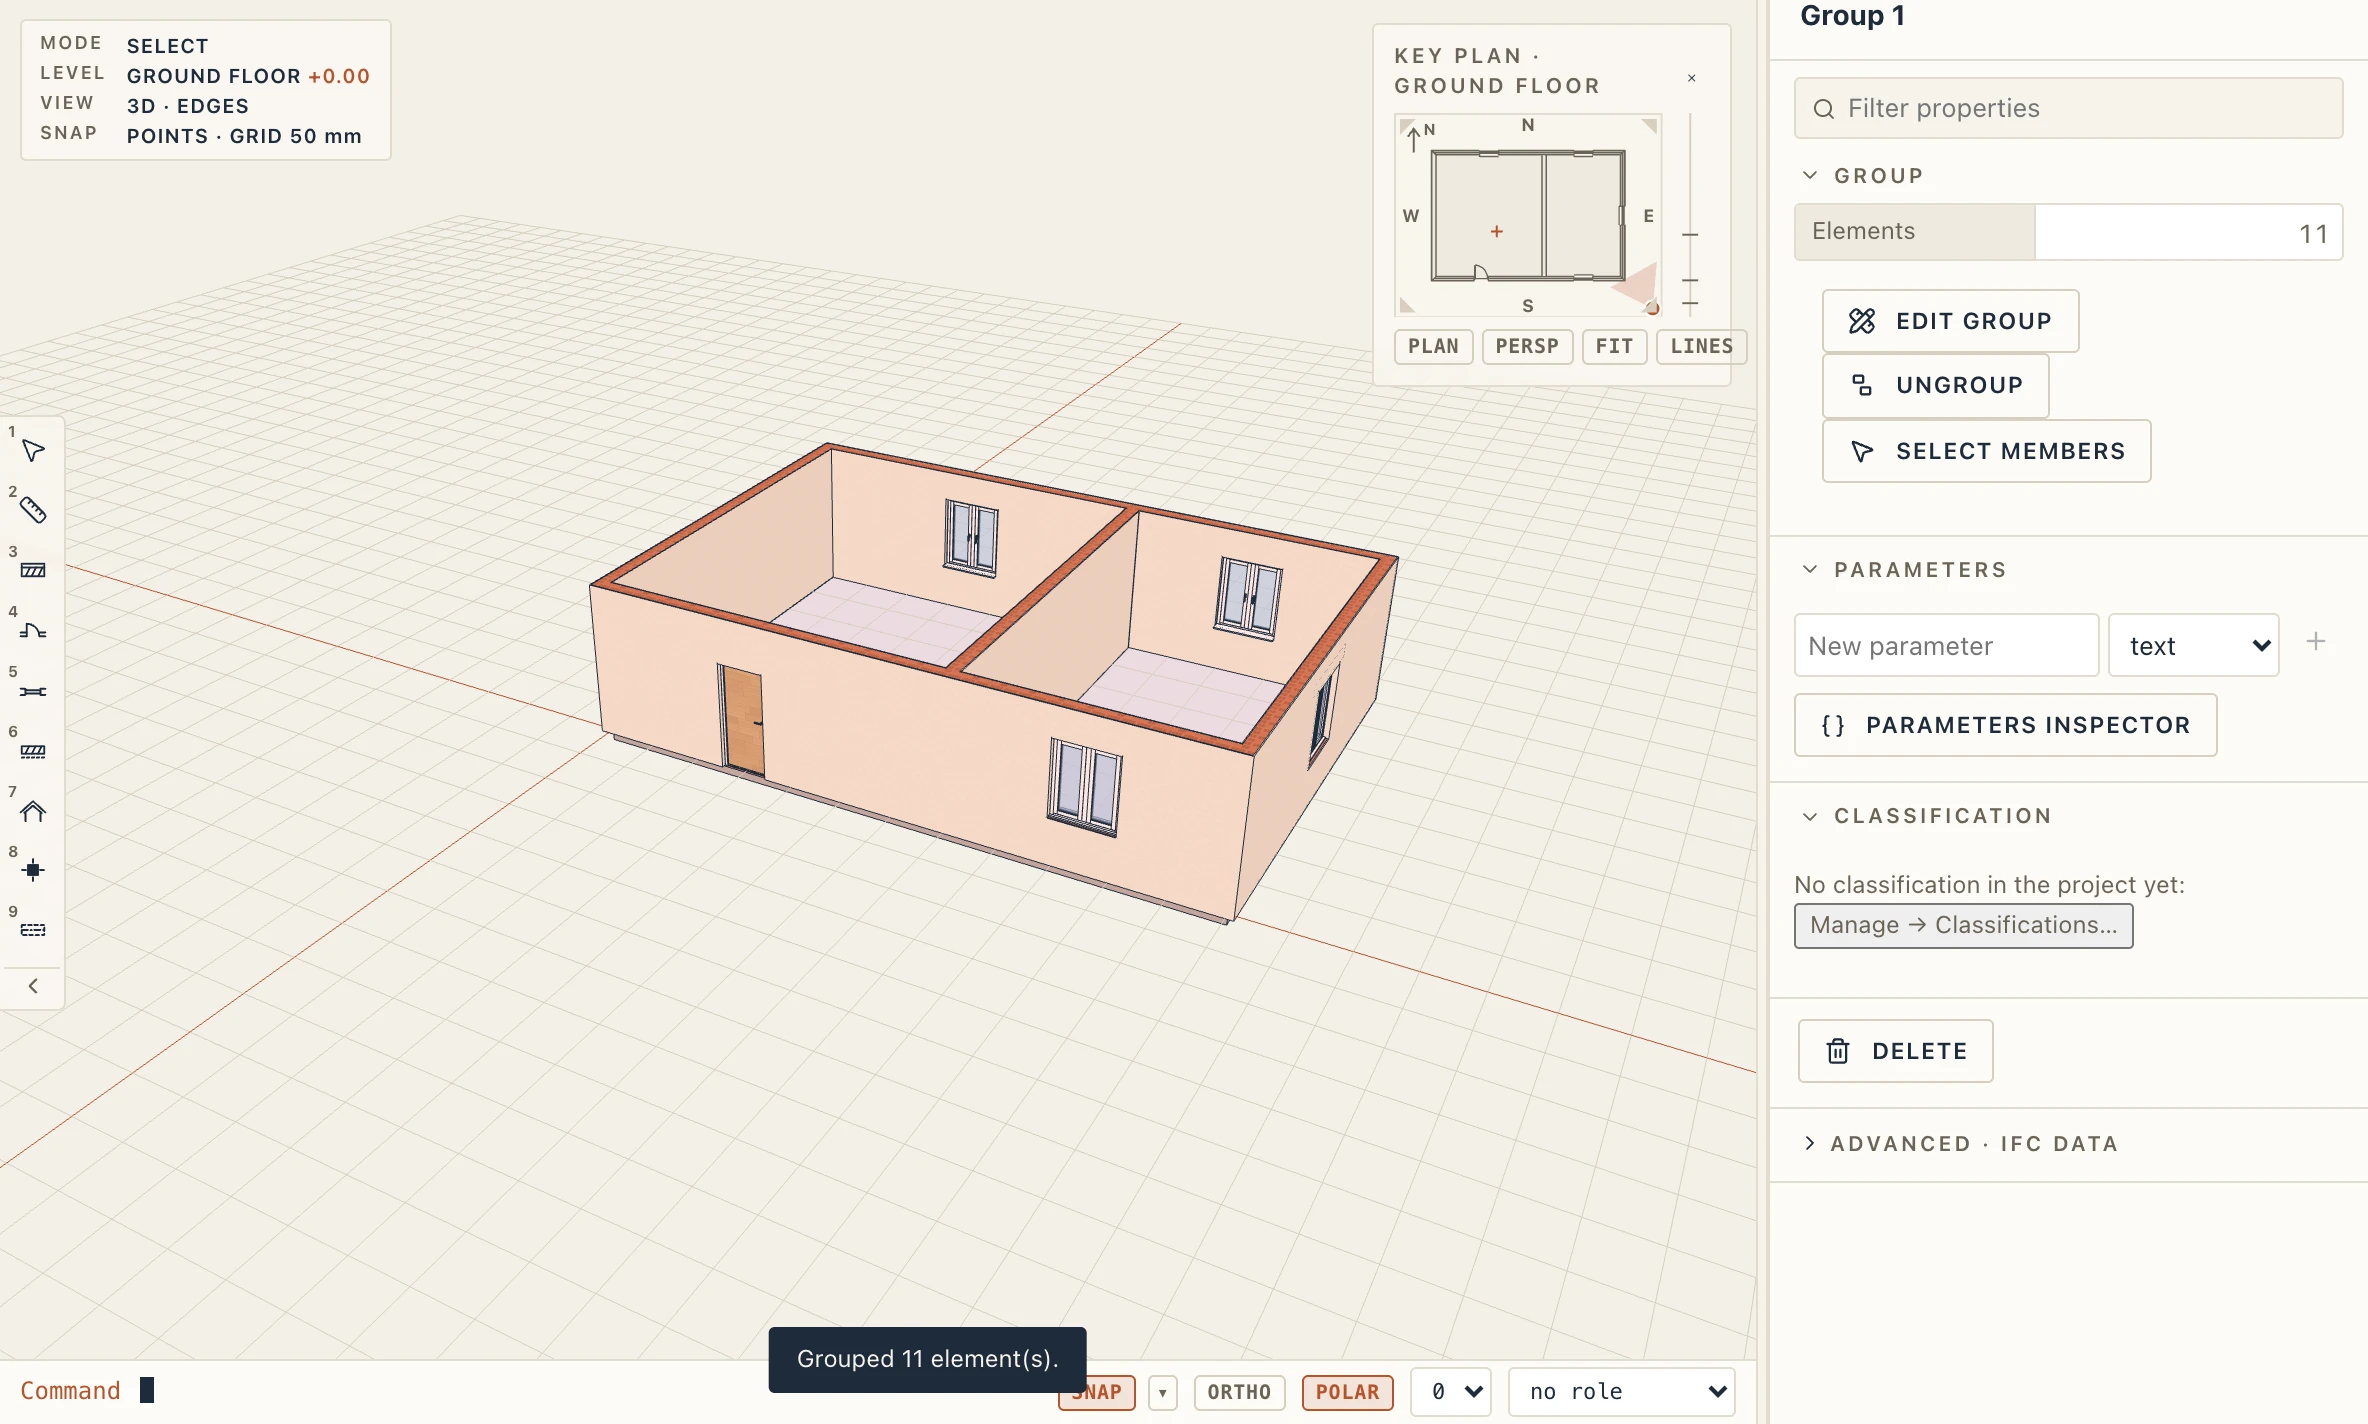
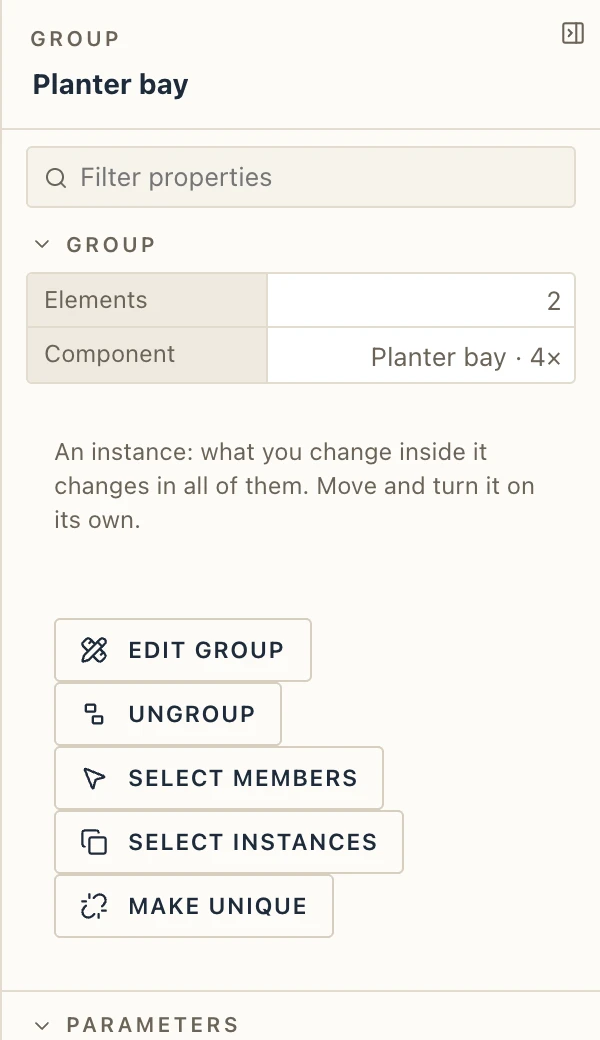
A selected group's properties give the number of elements it holds, with three buttons: Edit group, Ungroup and Select members.
Editing a group
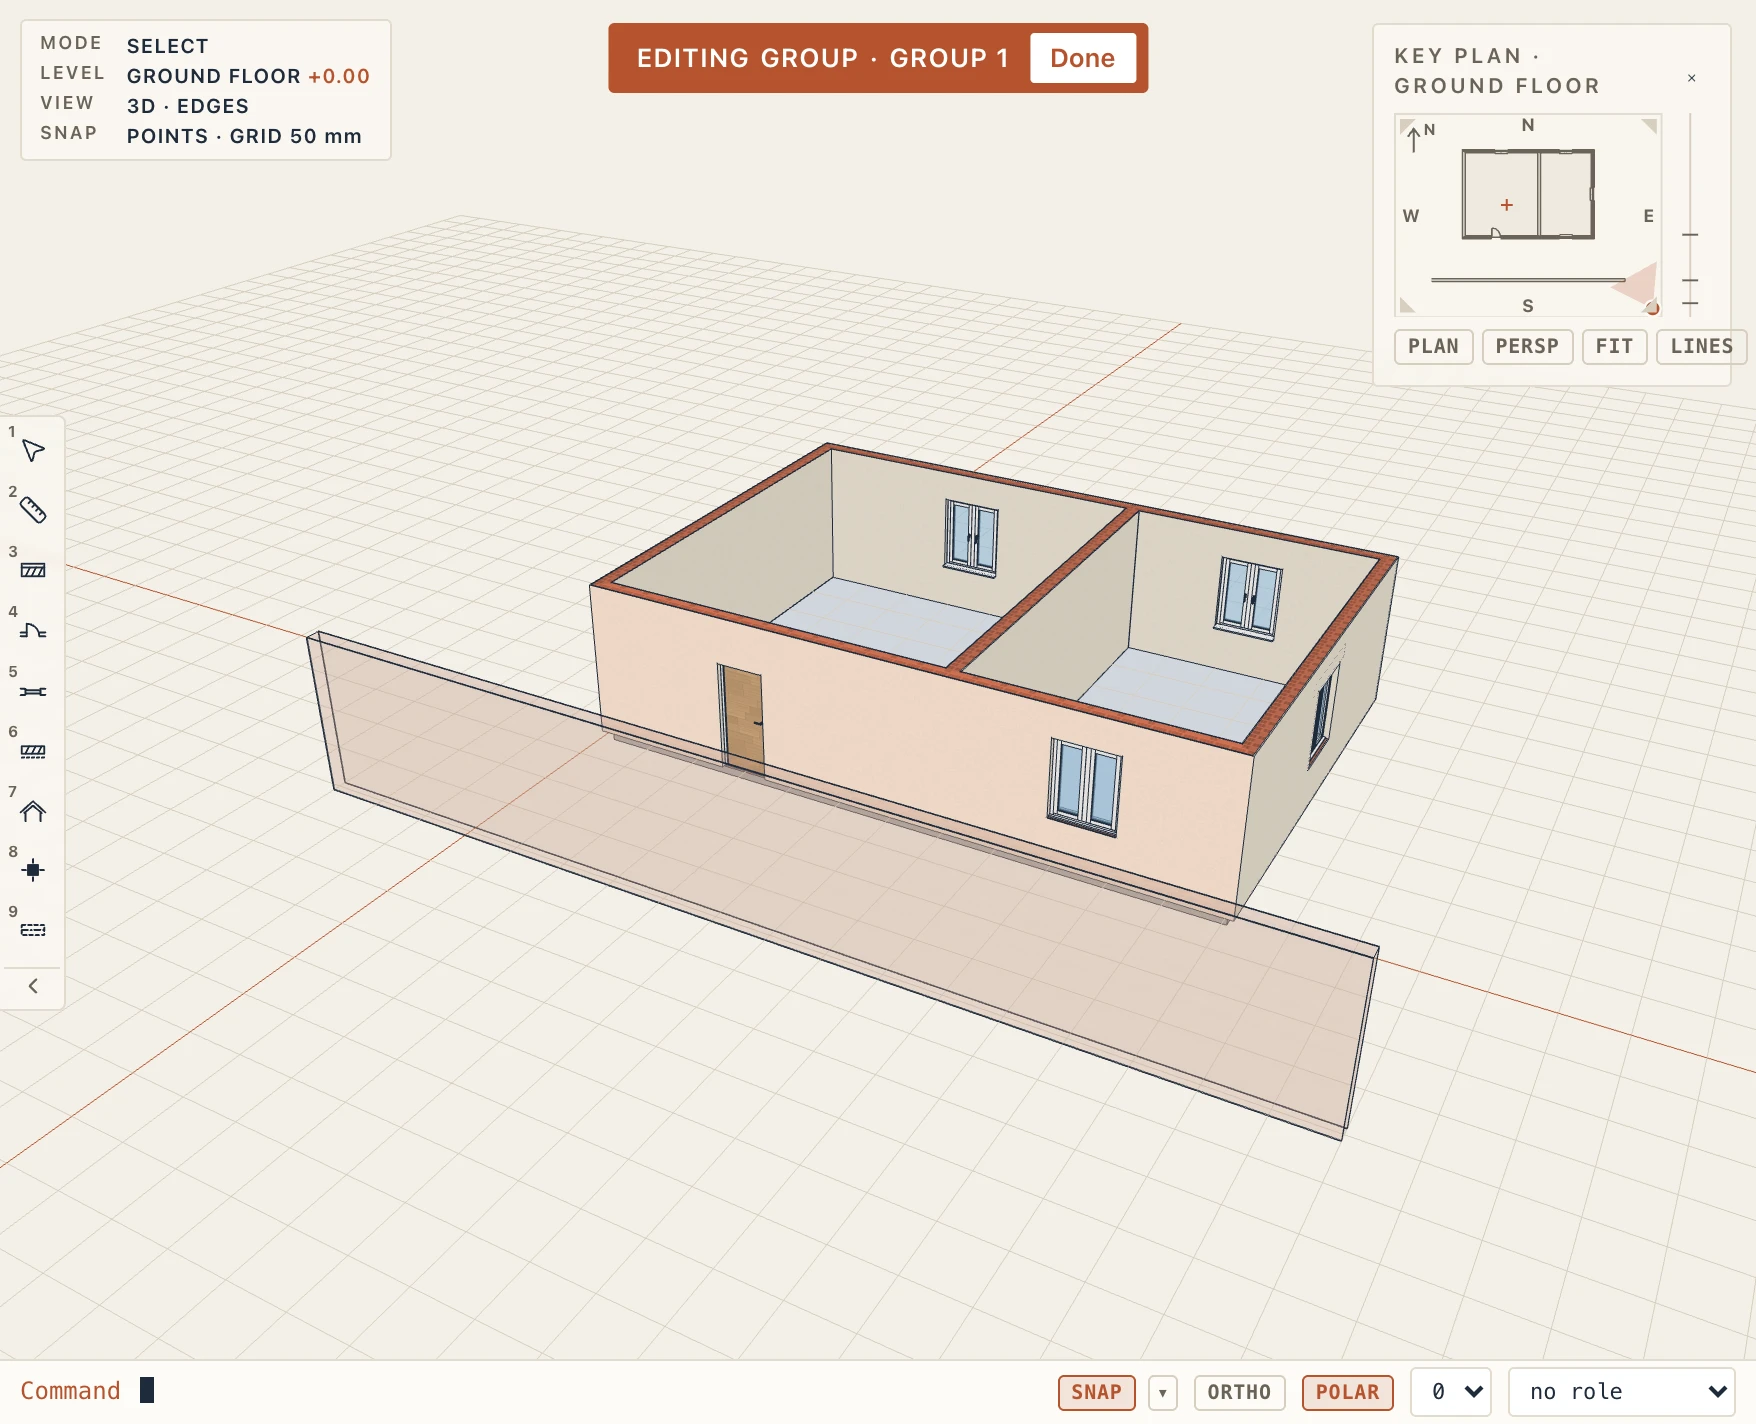
Double-click a member, or click Edit group (EG). The rest of the model is drawn faded and cannot be selected, and a click selects one member at a time. Delete, move or change members as usual. Remove from group takes the selected members out. Done, or Esc, closes the group. A group goes when its last member is deleted.
Components
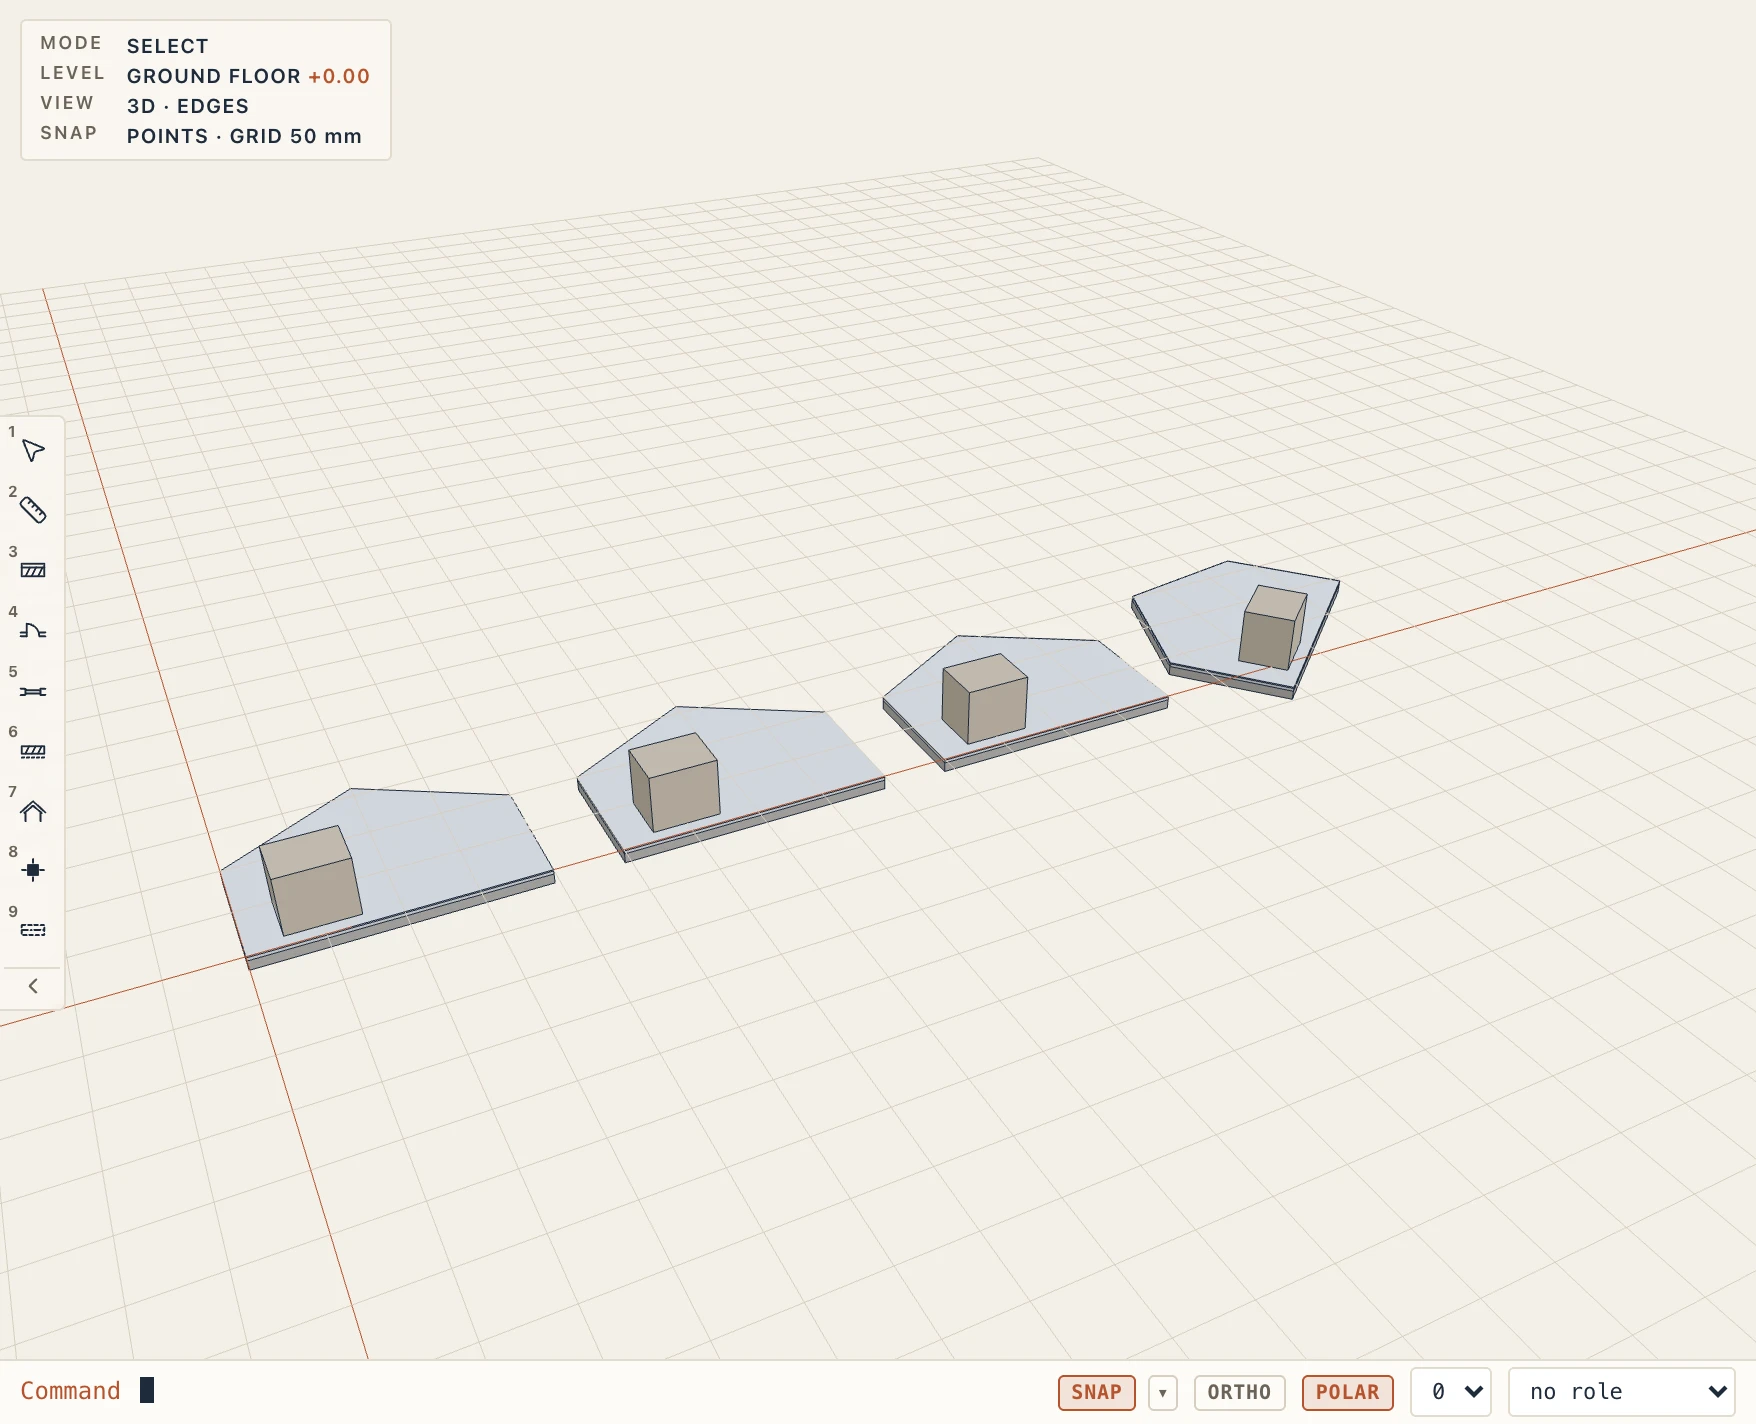
A component is a group whose copies stay the same, as in SketchUp: change one and all of them change. It suits what you repeat many times: a planter, a bay of a canopy, a kitchen island, a roof light, a typical room's floor. It takes Studio solids, floors and rooms; walls cannot be part of one, since a wall's joins and doors depend on its neighbours.
Select the elements and choose Modify → Make component (CK). Then copy it as you copy anything: Copy, Rotate, Copy to storeys. Each copy is an instance.
- Double-click an instance to open it, as a group. What you change inside (an outline, a height, a push/pull, a new or deleted member) changes in every instance, in one undo step.
- Move and turn an instance on its own: the others stay where they are, and an edit reaches a turned instance turned.
- Make unique, in its properties, lets one instance go its own way. Select instances selects them all.
- Mirror keeps it an instance, of the other hand: what you change in either reaches the other mirrored.
Apartment types
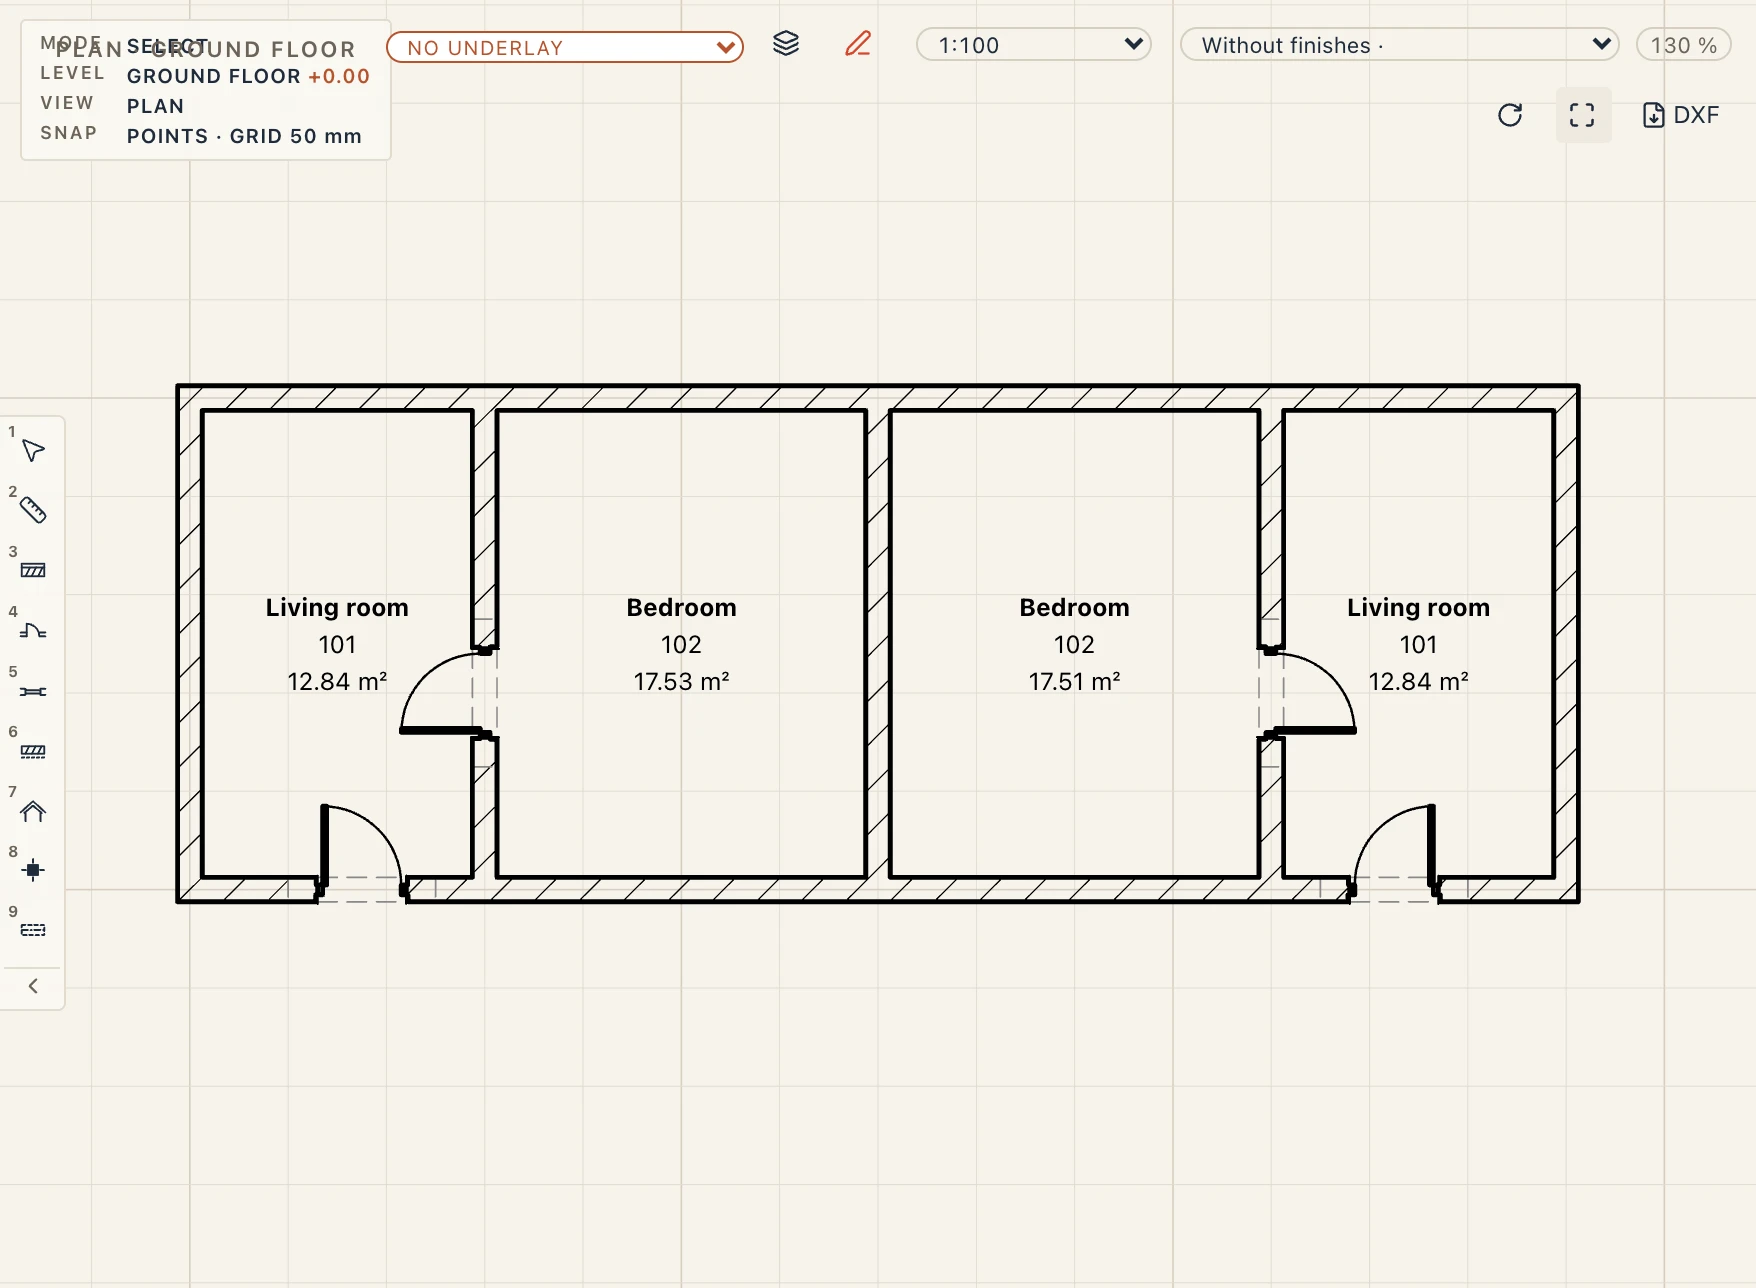
A component cannot hold walls, but an apartment type can. Select an apartment's walls, rooms and furniture and choose Modify → Make apartment type (CU). The doors and windows in those walls come with them. Copy it, rotate it or Mirror it, as the flat on the other side of a staircase: a change in one reaches the others, mirrored where they are, and every element keeps its identity in IFC.
An apartment type holds the inner walls, the doors between the rooms, the rooms and the furniture. The building holds the facade, the walls between apartments and the corridor. Where the two meet belongs to each instance:
- An inner wall stops in the building's wall it reaches: its end is cut at that wall's face, and the building's wall is left as it is. This is found again each time an instance is placed, moved or mirrored, and when a building wall is drawn or moved near it. Moving a building wall changes only the apartment that touches it.
- Entrance doors and facade windows belong to the room, not to the wall: choose them in the room's properties (see Doors and windows from the room). Every instance then has its own door in the building's wall on that side, of the other hand in a mirrored instance. Moving or turning one of these doors by hand, or changing its type, changes it in every instance. Where no wall can take it, the room's properties say so.
An apartment type has a fixed size: it does not stretch to fit a wider or narrower slot.
Copy to storeys copies an instance as another instance, which stops in that storey's walls. In IFC an instance is a group of ordinary elements with a Lapin_Unit property set. Import the file again with As one group unticked and it is an instance again; with the option ticked, as it is by default, its elements stay plain members of the file's one group.
Manage → Components opens the Place catalogue on the components: a card copies an instance from a base point. Its Components… button lists the project's components, with how many instances each has. Rename them there, or select all the instances of one. The instances are ordinary elements in plans, sections, schedules, quantities and exports, each with its own GlobalId.
Arrays
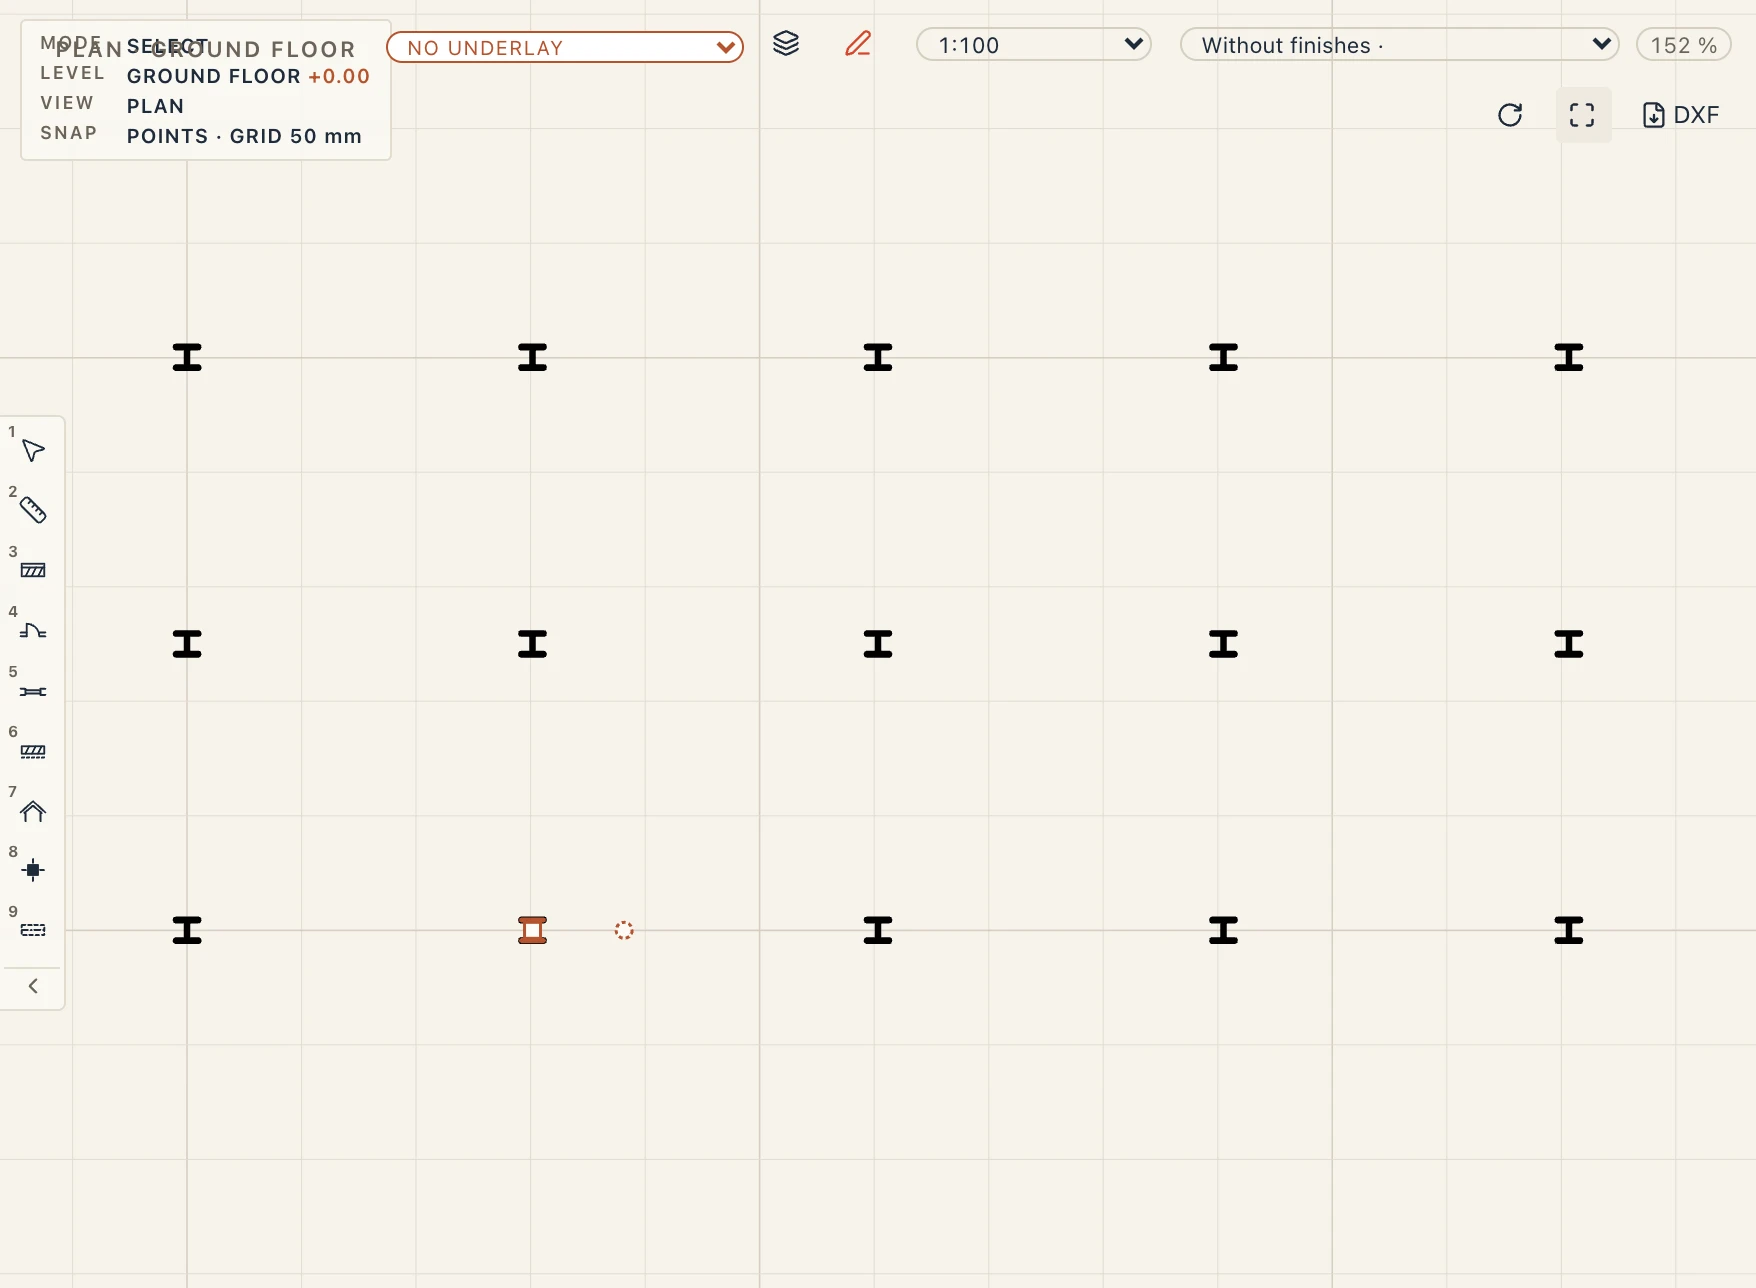
Modify → Array makes copies of the selection, any element or group, in one of four ways. In a row gives a step along x, y and z. In a grid gives columns × rows (and levels, if you want more than one): the step x, y, z goes from one column to the next, the row step from one row to the next, and the level step lifts each level. Round a centre gives the angle the copies fill and the centre (360° shares a full turn out). Along a path puts them along a line you click.
For a row or a grid, Step given by chooses how the step comes: by typing it, or by clicking two points in a plan. Clicking: give the first point, then the second, the step to the next copy (in a grid, to the next column). Type a distance instead of the second click, 100 mm say, and it goes that far in the direction of the pointer. In a grid with more than one row, a third point gives the step to the next row, from the first point. While you move the pointer, the selection is drawn at every place the copies will take.
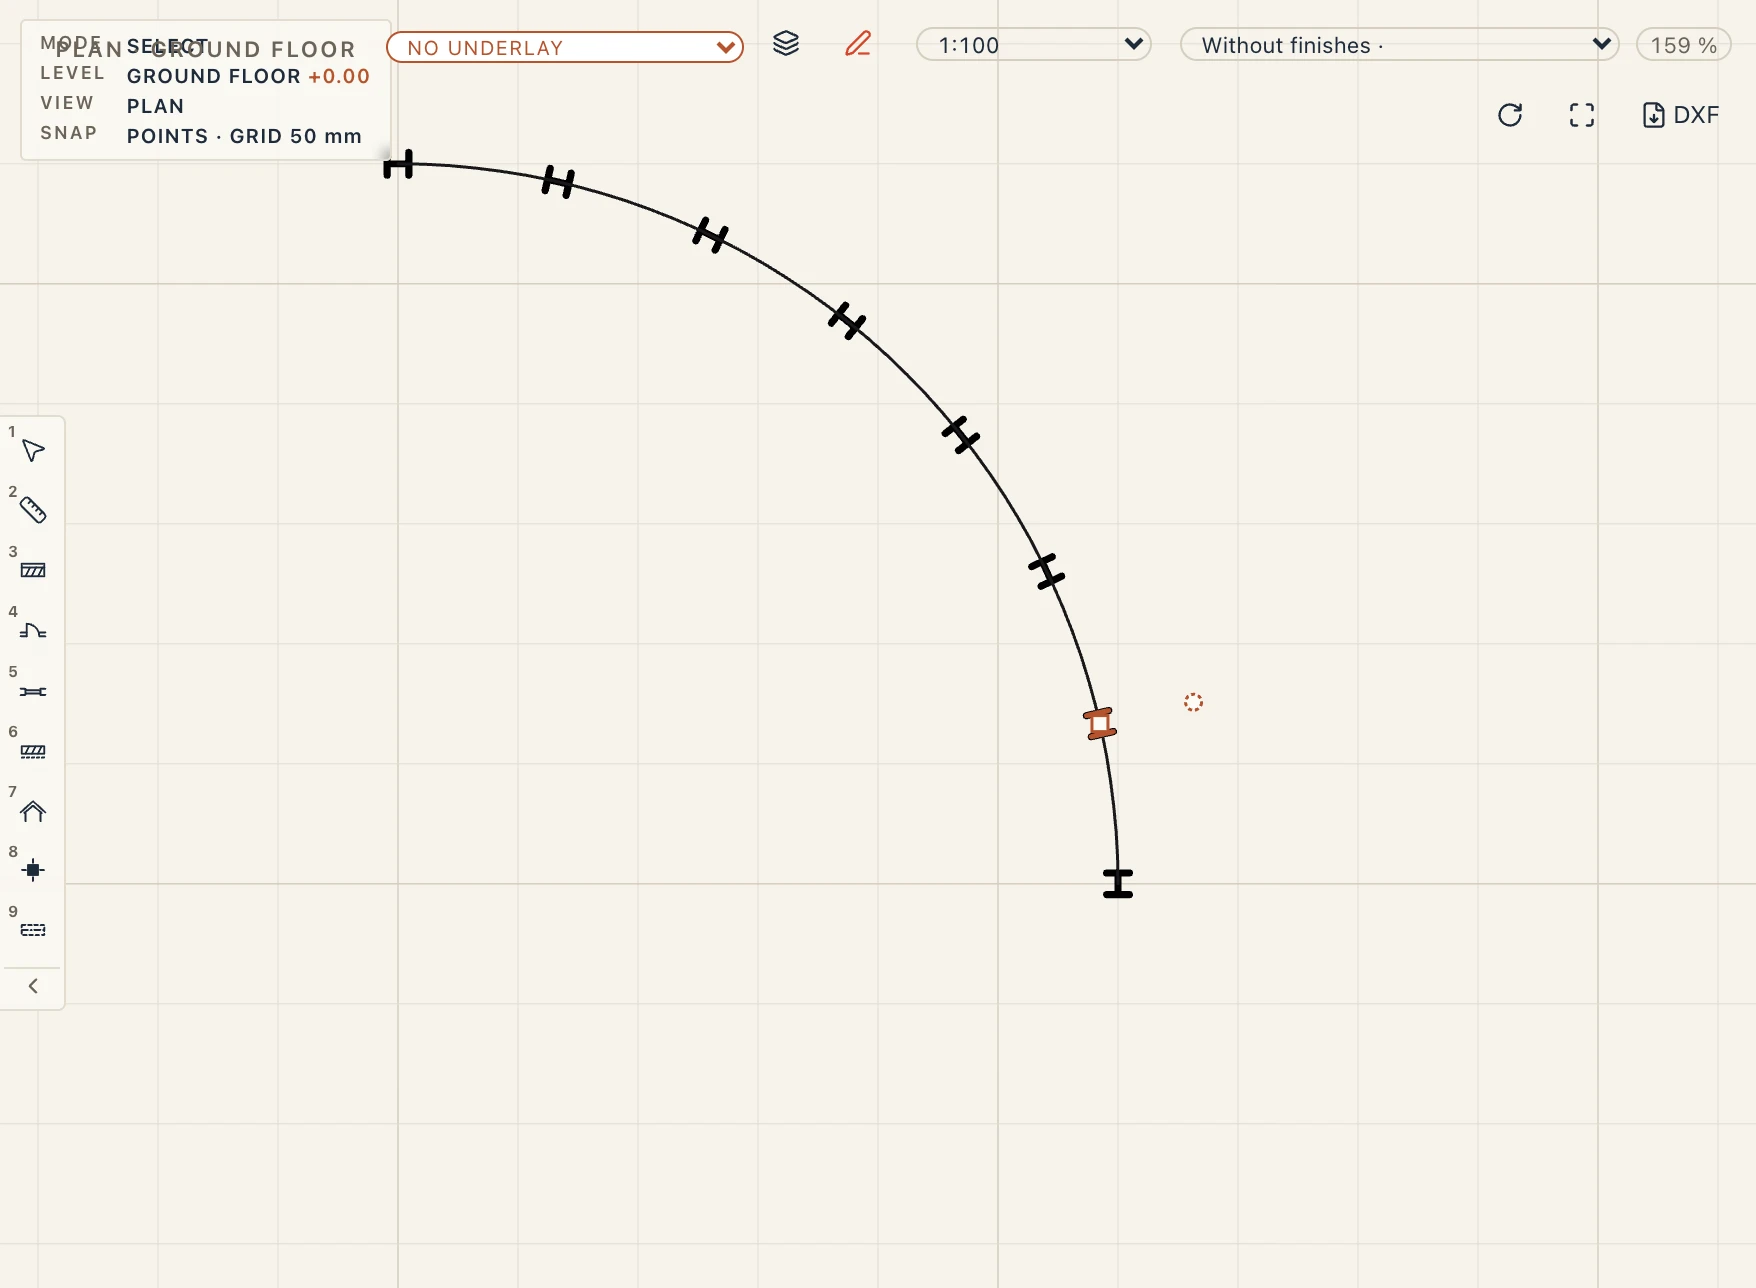
For a path, the dialog asks for these:
- Copies (with the first) and Spacing. A count alone shares the copies out from the start of the path to its end. A spacing alone puts as many as fit. Both give that many copies at that spacing.
- Start distance and End distance leave that much of the path's ends free.
- Offset from the path: a positive value goes to the left of the path's direction.
- Orientation: Along the path turns each copy with the path's direction, relative to the first place; Fixed keeps every copy as the original stands. Turn round flips the direction.
Then click the path, in a plan. It can be a line, a polyline, an arc or a circle you drew, the axis of a wall or a beam, or the line of a road, a path, a ditch or a retaining wall of Civil, or a site feature line. A ghost shows the path and where each copy will stand while you move the pointer. Next, click the point of the selection that goes onto the path, or press Enter to leave the selection where it is: the copies then keep its offset from the path's start.
An array stays an arrangement. Select any copy and the properties show an Array section: its kind, the number of copies and its rule (the step, a grid's columns, rows, levels and their steps, the angle and centre, or the spacing, start, end, offset, orientation and the path's name). Change the count and copies are added or removed (in a grid, a column more adds one to every row, and each copy keeps its place); change the spacing or the offset and the copies move. The copies keep their ids, so what refers to them keeps working. Edit the path, and the copies follow it. A copy you moved by hand keeps its offset from its place when the rule changes, and a copy you deleted stays a gap. Select the array selects every copy, and Explode ends the arrangement: the copies stay as plain elements.
Arrays of drafting
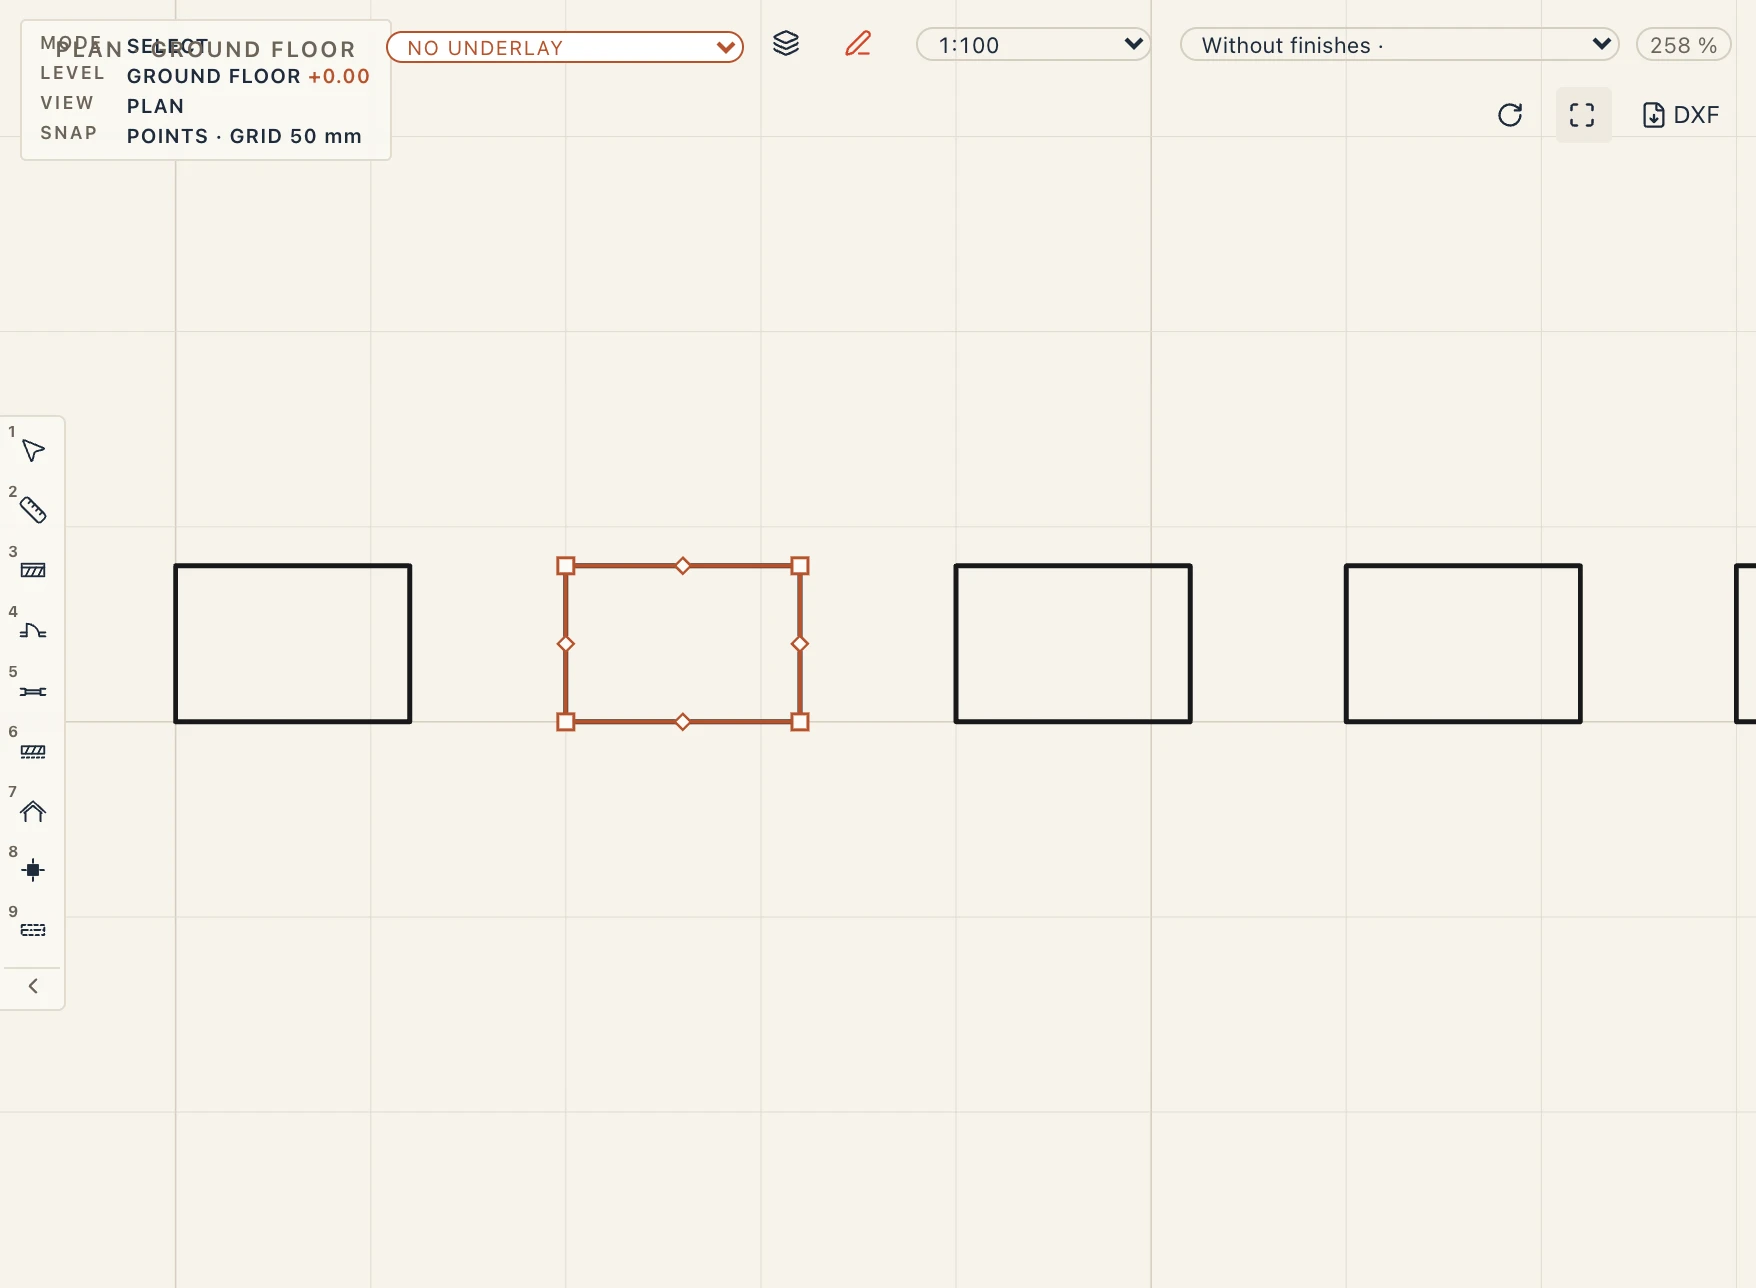
Array works on drafting too: drafted lines, polylines, rectangles, circles, arcs and hatches, texts and symbols, in a plan, a section, an elevation or a drafting view. Select them and choose Modify → Array, or Draft → Modify → Array, or type ARRAY. The four ways are the same, in the view's own coordinates: a clicked step is clicked in the view, a centre is a point of it, and the path can be a line, a polyline or an arc drafted on it. The copies stay an arrangement as an element's do, with the same Array section in their properties, and the whole array is one undo step.
In a plan, elements and drafting selected together are arrayed together, since they share the model's x and y. In a section, an elevation or a drafting view only the drafting is arrayed (elements are arrayed in a plan or in 3D), and in the 3D view only the elements. Dimensions and tags are left out, since they measure or name their own elements. Lapin says what it left out.
Drilling into assemblies
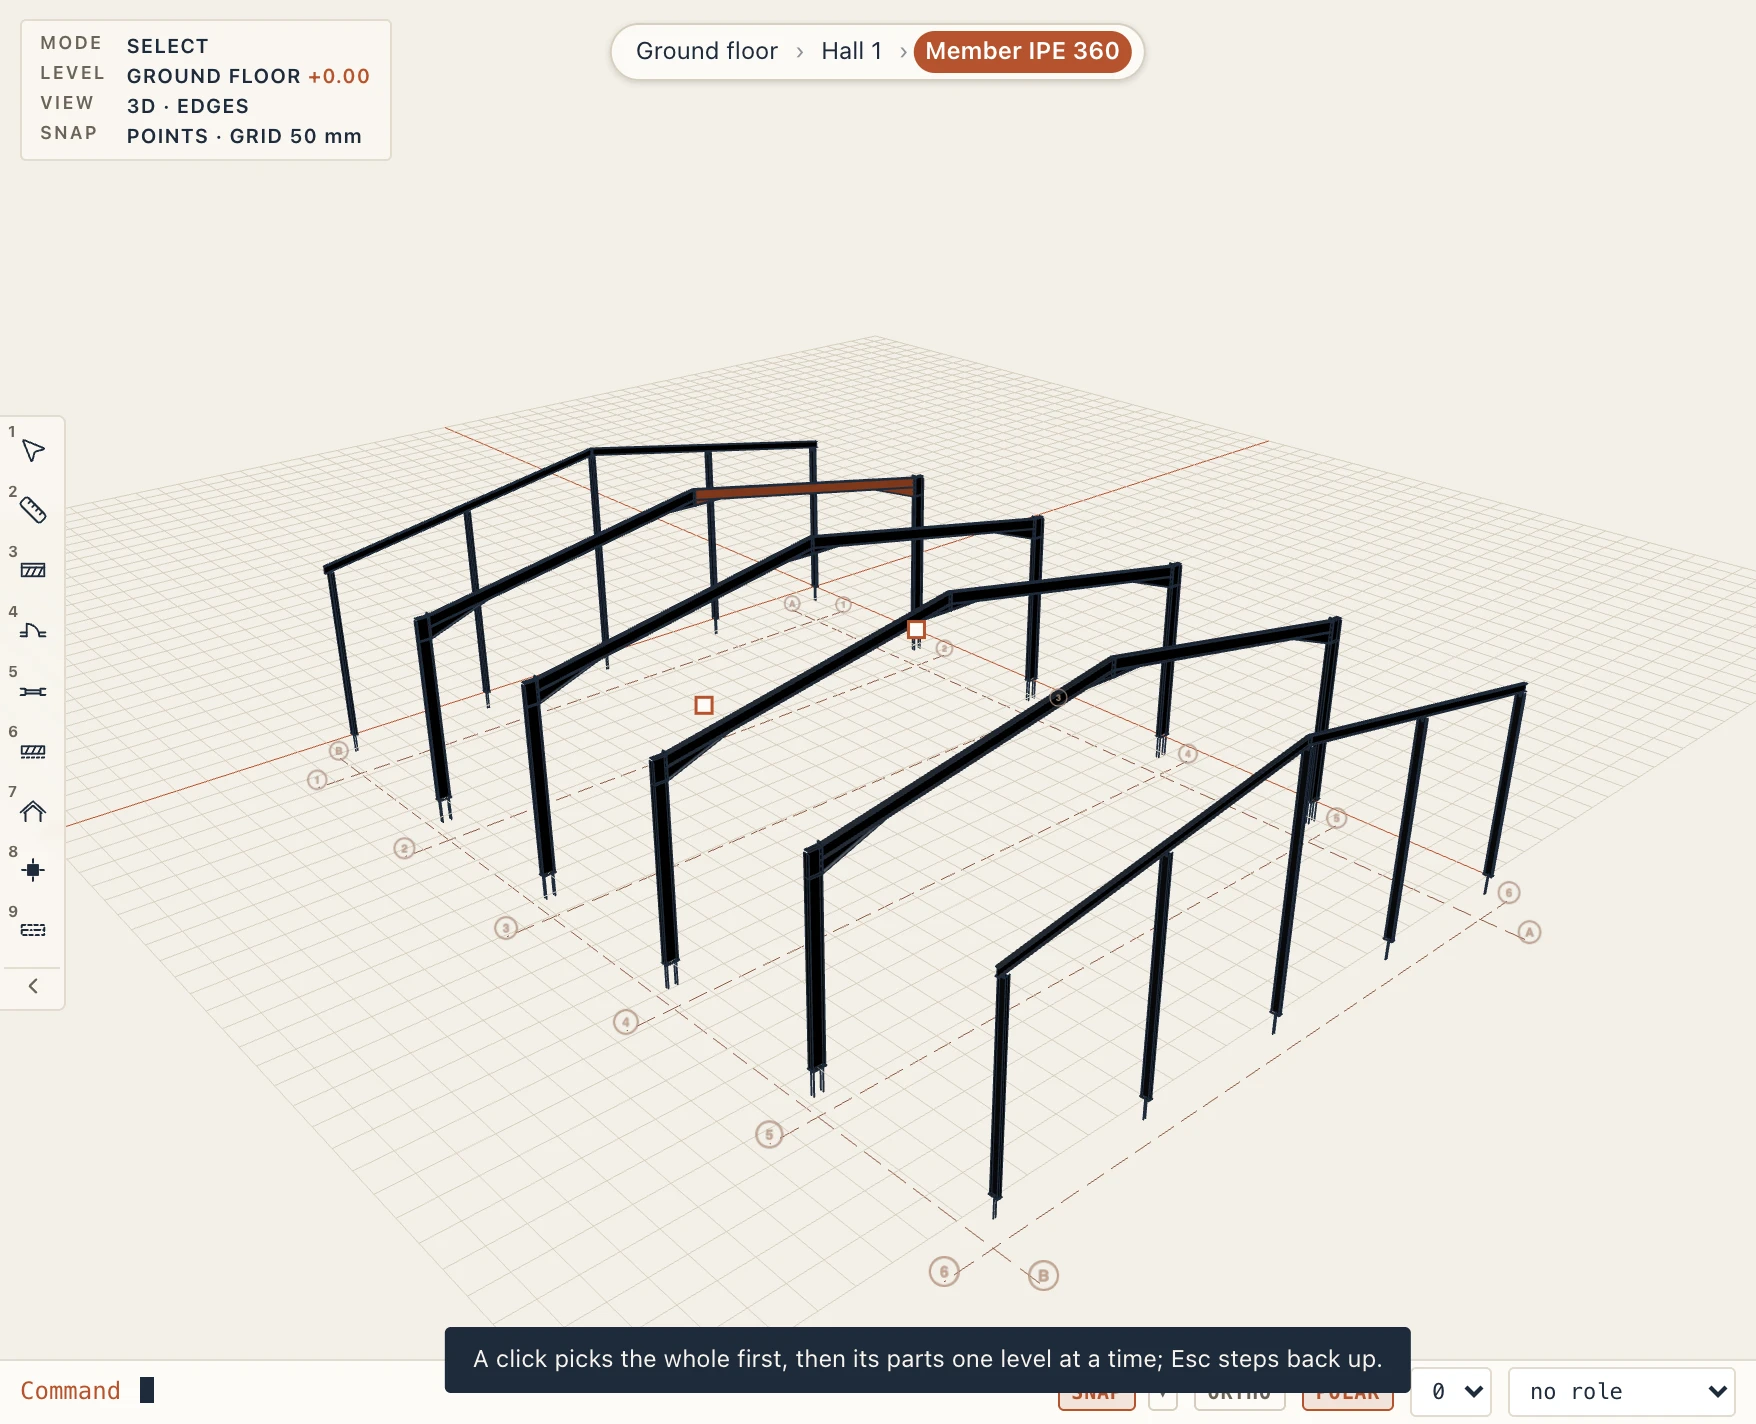
Some elements are parts of a whole: a steel hall's columns, rafters and purlins, the parts of an assembly (a Studio box, an assembly read from an IFC file), and the members of a group. View → Drill into assemblies, off at first, picks them the way the whole is built. The first click on a part selects the whole at the top: the group, or the hall. While it is selected, a click inside it selects the part one level down on the way to what you clicked, and each further click goes one level deeper, down to the element itself. A click on another part of the same whole selects that part at the same level. Esc steps one level up, and at the top lets go of the selection; a click on empty space lets go too. Ctrl+click (Cmd+click on a Mac) selects the element itself straight away, and Shift adds the whole at the top to the selection. A breadcrumb over the view names the levels, from the storey to the selection: click one to select it. While a part inside a whole is selected, the rest of the model is drawn lightly faded. It works the same in 3D, plans, sections and elevations. A selection box or a lasso takes the wholes at the top. A double-click still opens a group for editing; inside it, the drilling starts below the group. The choice is kept on this computer, and is also in View → View settings.
Imported files
Every IFC, Fragments or mesh file you import comes in as one group named after the file. Untick As one group in the IFC import to bring the elements in loose. A linked file is not grouped: it is already one link, read-only (see Import and export). Elements read from a file as references (an IFC file's, a mesh's) move, turn, mirror and are copied with their group like any element; their shape stays the file's.
Selecting a region in 3D
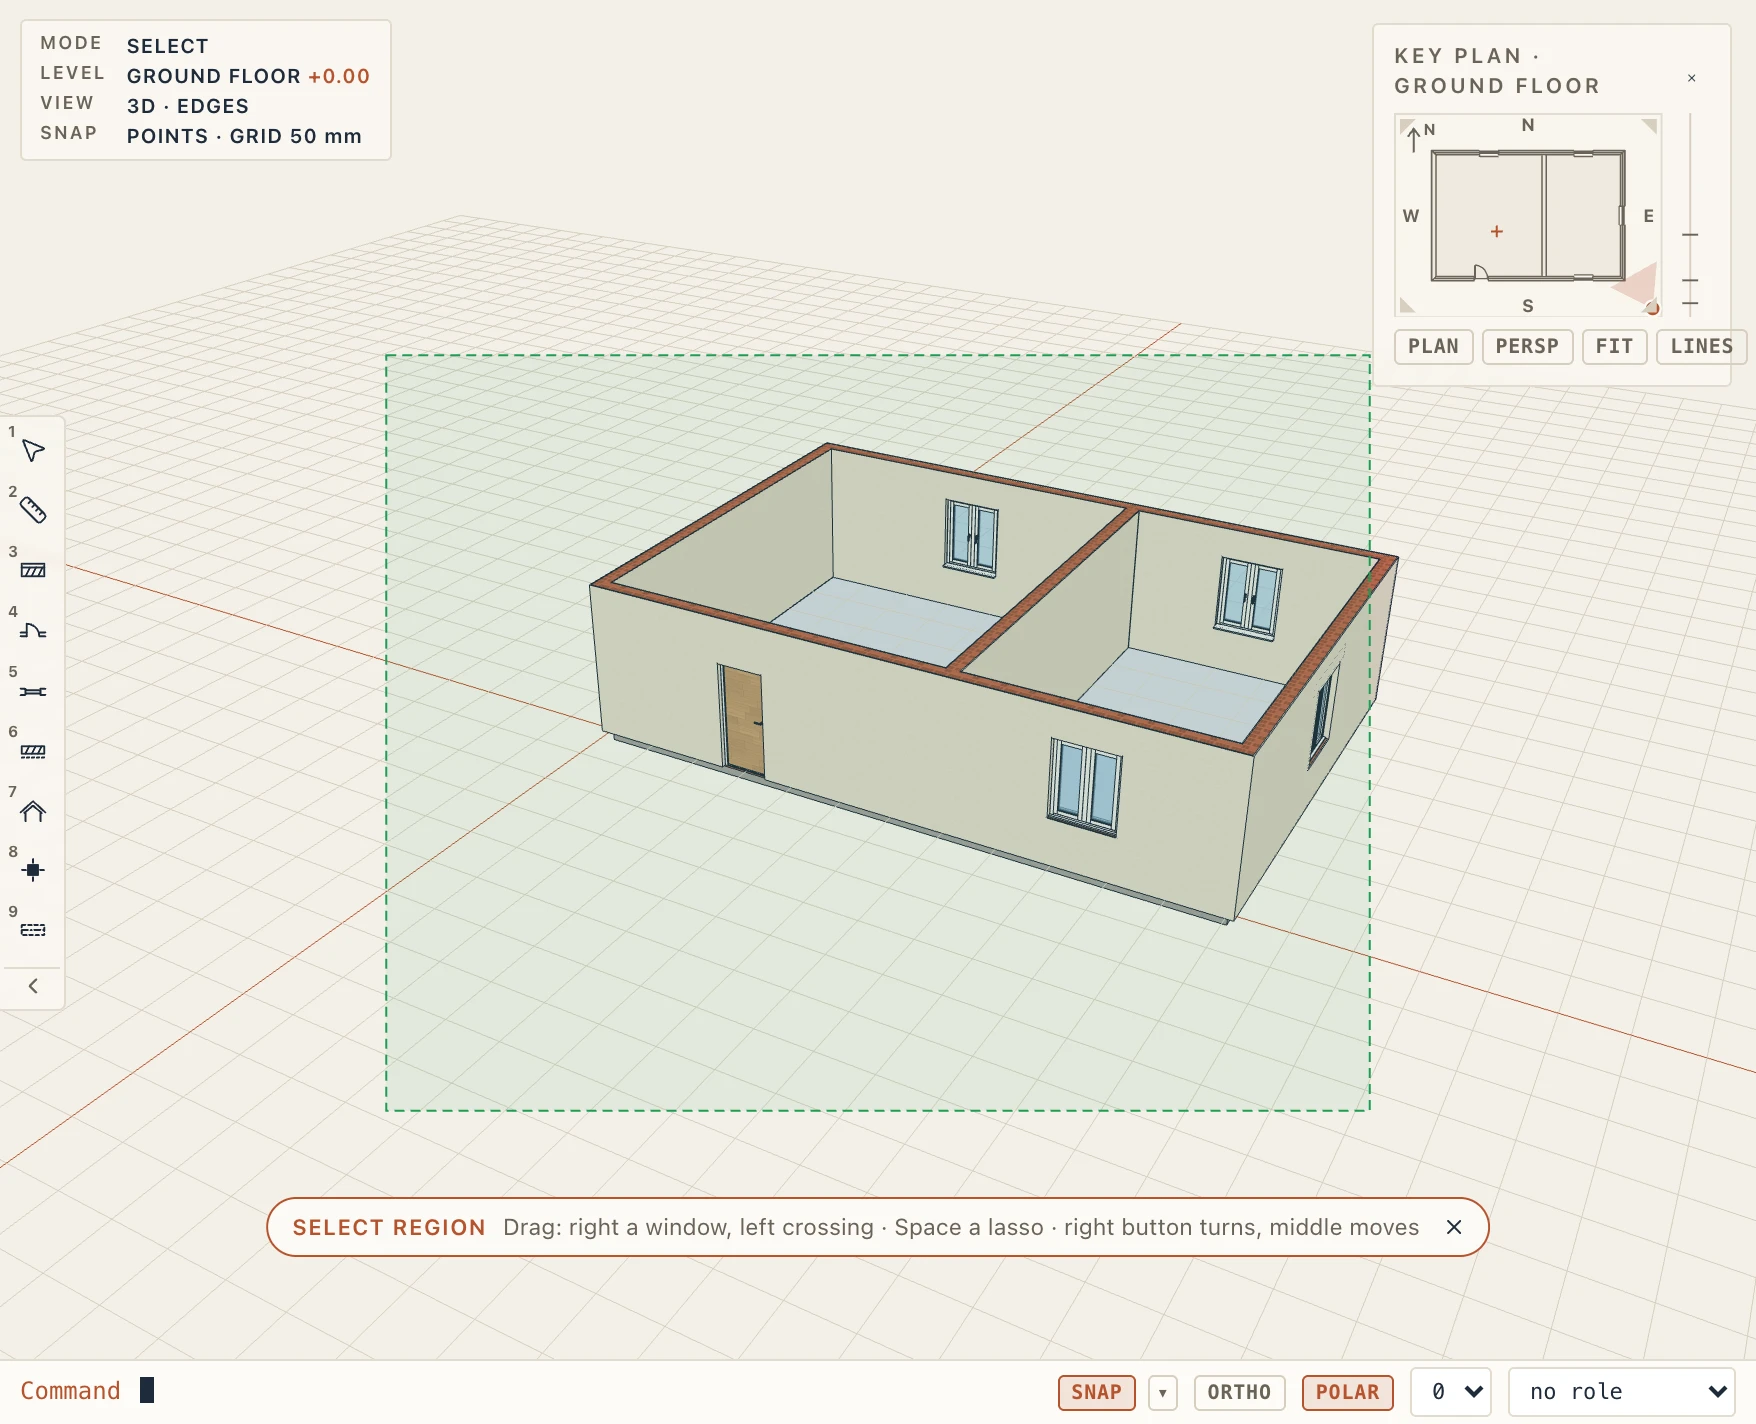
View → Select region (SR) turns a left drag in the 3D view into a selection, as in plans. Dragged to the right, a window takes what lies wholly inside it. Dragged to the left, a crossing takes what it touches. Press Space while dragging to draw a lasso, and Shift to add to the selection. While it is on, the right button turns the view and the middle one moves it. The × on its chip, or SR again, turns it off.
In Lapin's own navigation style Alt + left drag draws the same region with no mode to turn on; in the Revit-like, AutoCAD-like, ArchiCAD-like, SketchUp-like, Blender-like and Rhino-like styles a plain left drag does (see Mouse navigation styles in The interface and shortcuts).
Hiding for now
View → Hide (HH) hides the selection in the 3D view. Isolate (HI) hides everything else. Show all (HR), or the × on the chip, brings everything back. Nothing is saved or deleted: it is a way to reach what lies inside an imported model while you clear it up. Right-click in the 3D view for the same entries (Hide, Isolate, and Show all while something is hidden): what is under the cursor is selected first when it is not selected yet.