User guide
Levels and plans
Add levels, set their heights, and see another level under the plan you draw on.
Levels
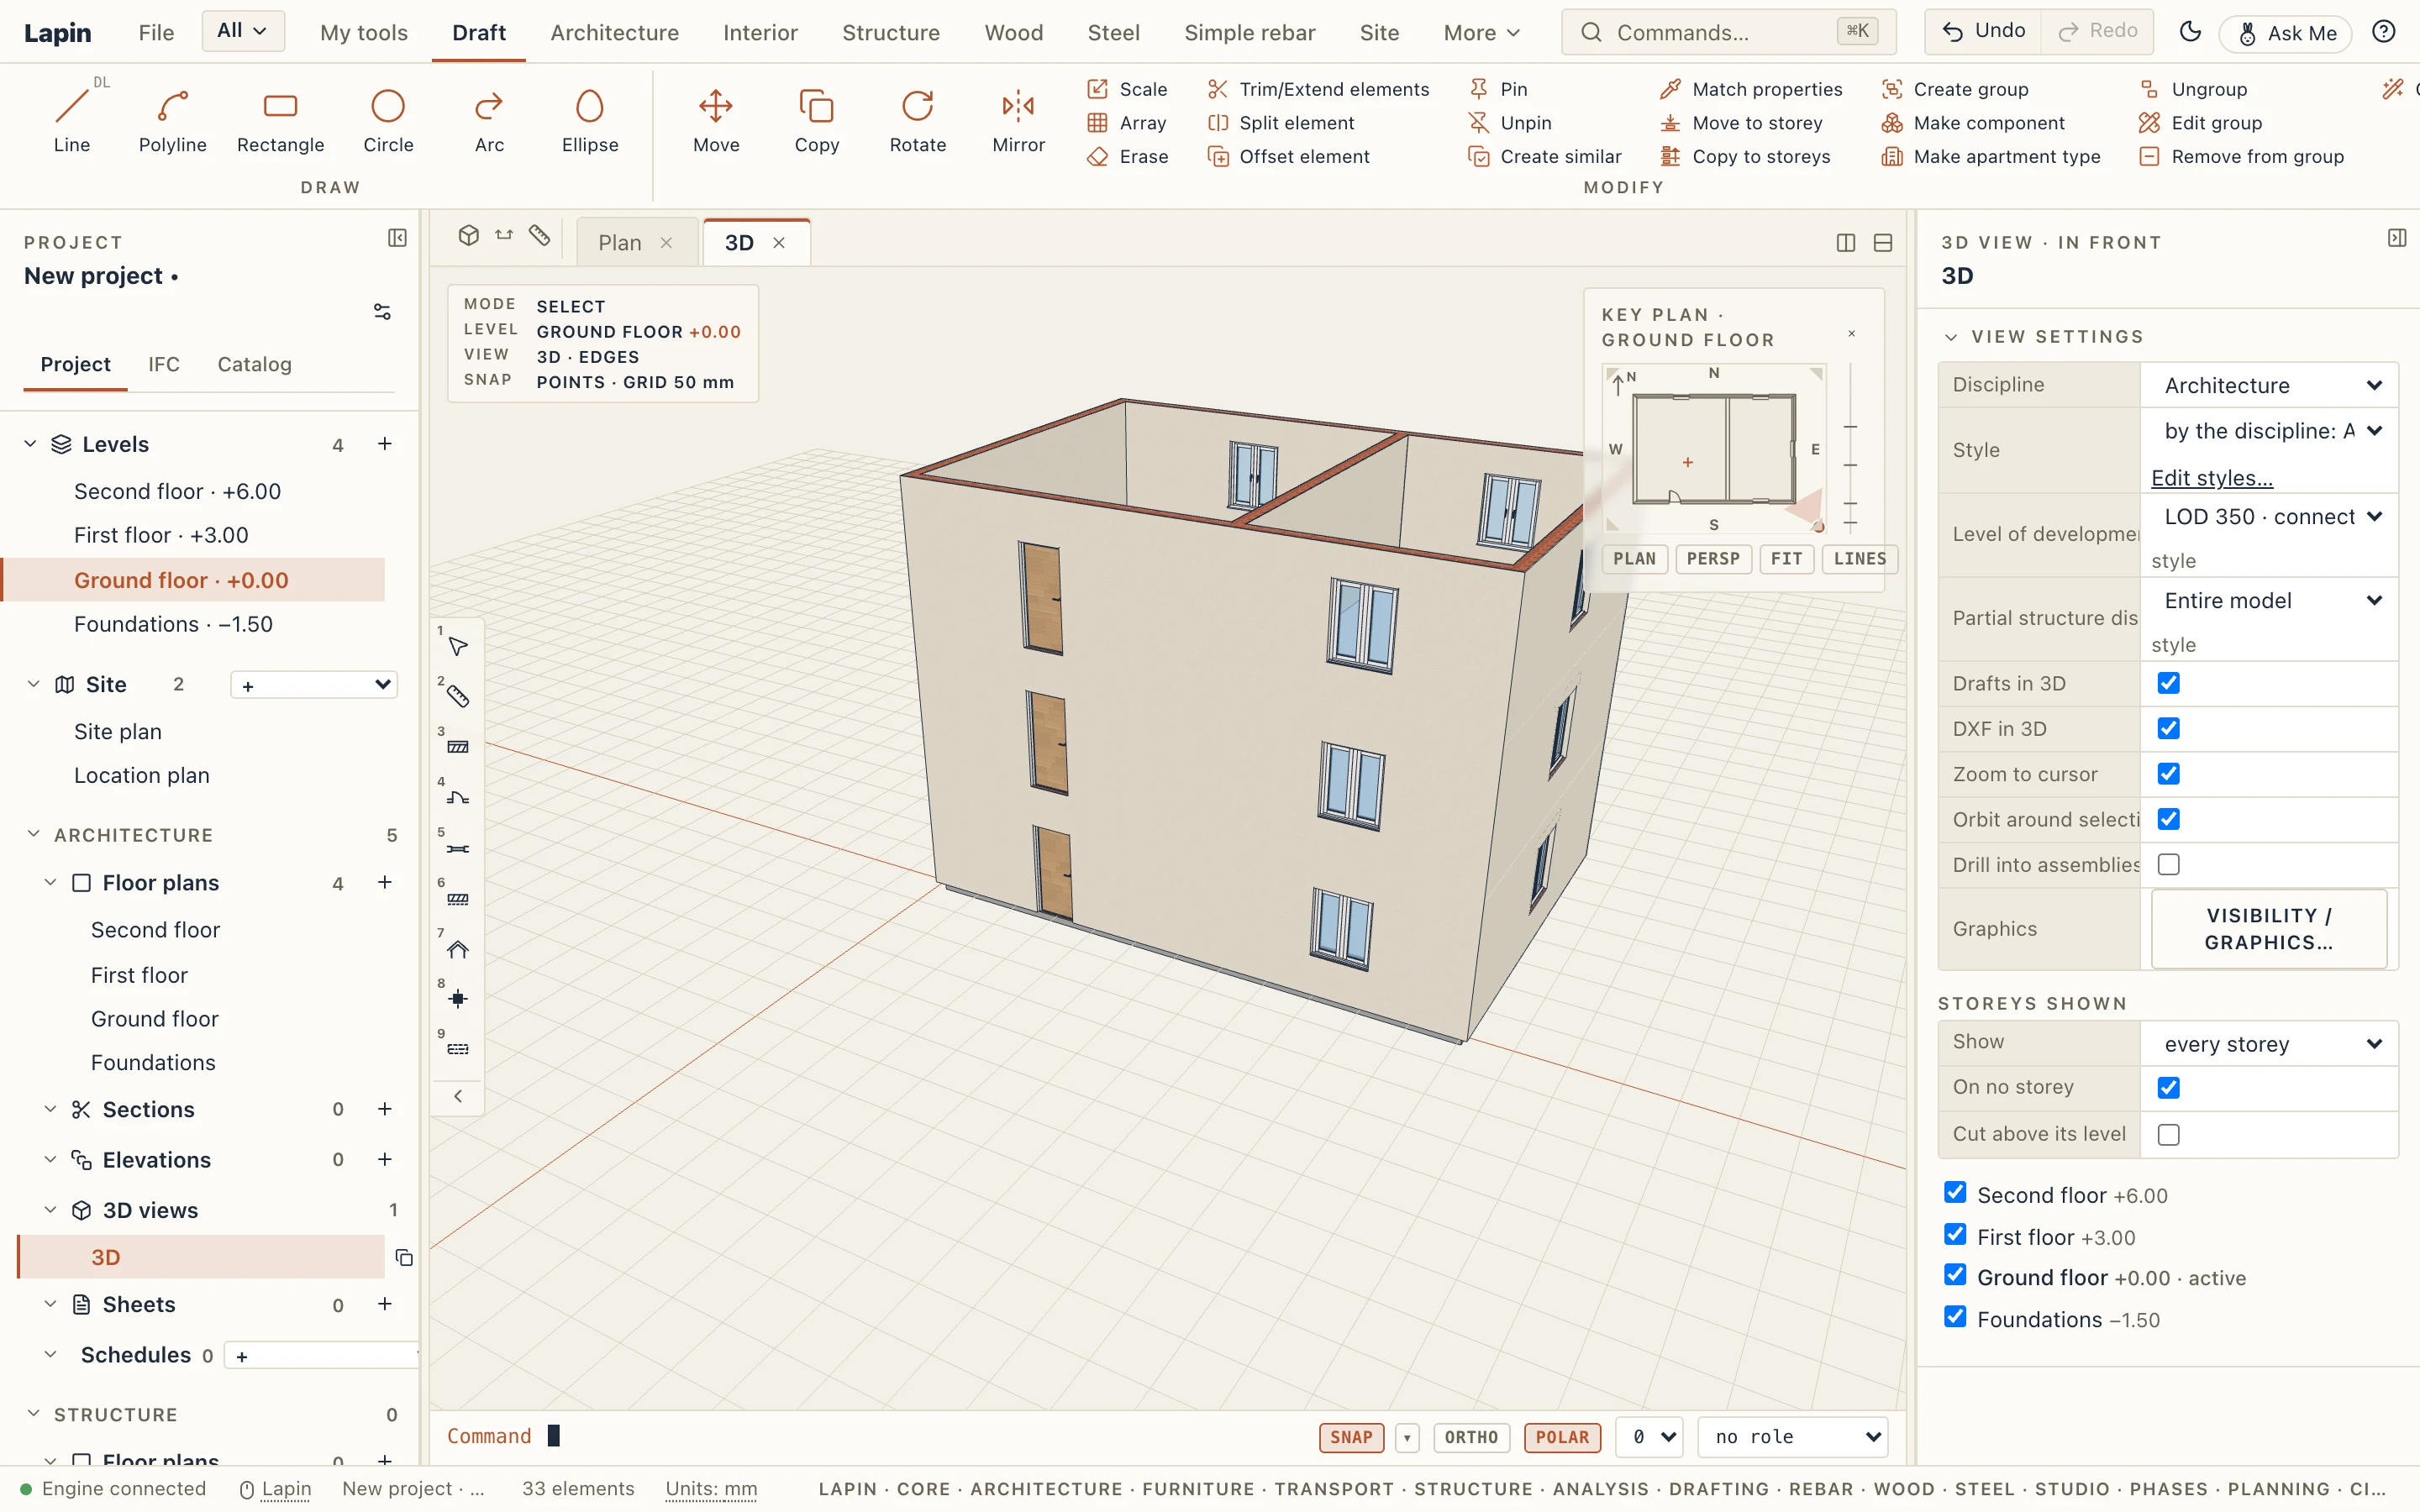
The project browser lists the levels at the top, the highest first. + next to Levels adds a level above the highest one.
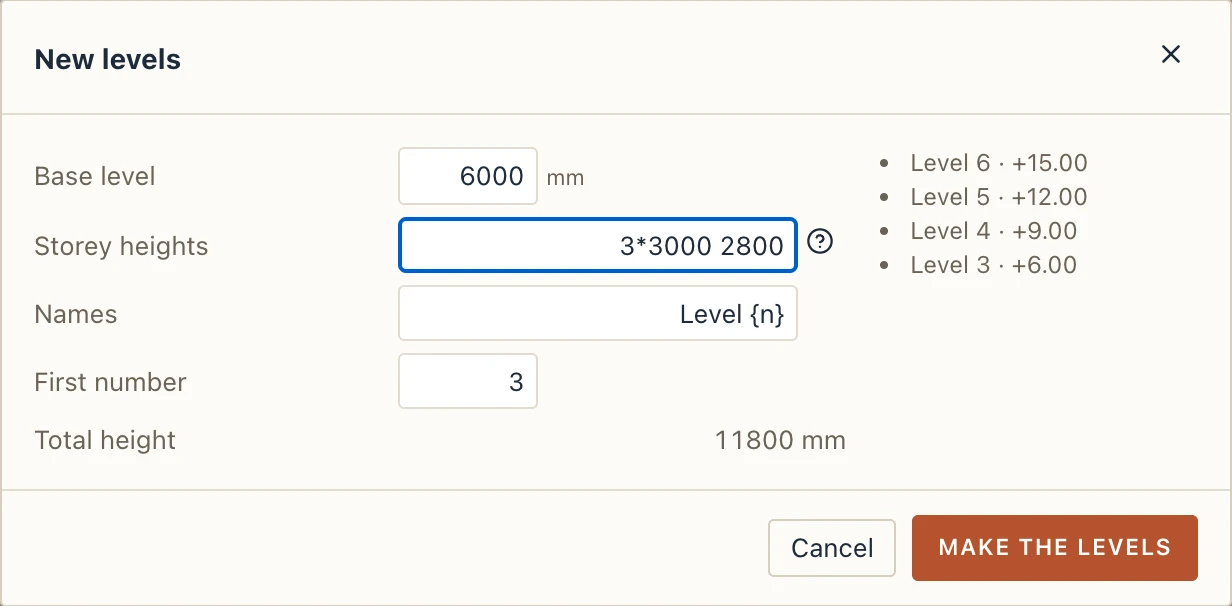
Several levels at once. The button beside + (or Annotate → Datum → New levels…) opens New levels. Type the Storey heights bottom up, separated by spaces, as the Axis grid's spacings are typed: 3*3000 2800 makes four storeys, three 3000 high and one 2800. The first stands on the Base level (the top of the highest level, unless you type another); each next one stands on the one below. Names is a pattern where {n} is the number, counted from First number: Level {n} from 3 gives Level 3, Level 4…. The list beside shows each new level with its elevation. The levels already there are left as they are, and the new ones are one undo step.
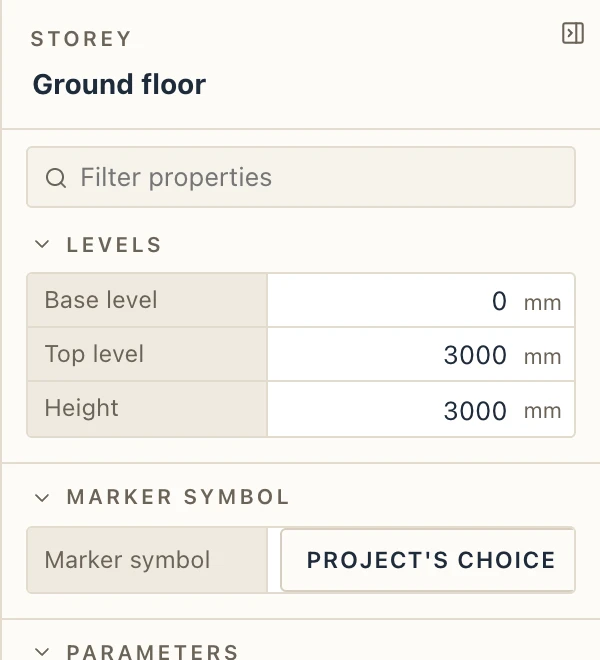
Select a level to see its base level and top level. Either can be above or below ±0.00. Its height is the distance between them. When you move the base, the top stays where it is. A new project starts with Foundations, Ground floor and First floor. A level is at most 100 m high and lies within ±10 km of ±0.00: a value typed in the wrong unit is refused. A stair that would climb more than 50 m to the level above stops there and says why.
Each level has its own plan under Floor plans. Double-click a plan to draw on that level. The level you draw on is shown in the box at the top left of the view.
In sections and elevations every level is marked at the right with its name and elevation. Manage → Object styles → Hidden lines also sets the level marker: an open triangle, a triangle with its left half black (as the Romanian standard draws it), a black triangle or a tick, and its size on paper.
Elevations are written in the project's units: in metres (+3.00) in a metric project, as drawings write levels, and in feet and inches (+9'-10 1/8") in an imperial one. The browser, the box at the top left of the view, the level marks in sections and elevations, and level dimensions all follow.
Seeing the level below
To see another level while you draw, choose it in Underlay in the plan's bar. That level's plan is drawn beneath, faded and grey. You can snap to it, but you cannot select it.
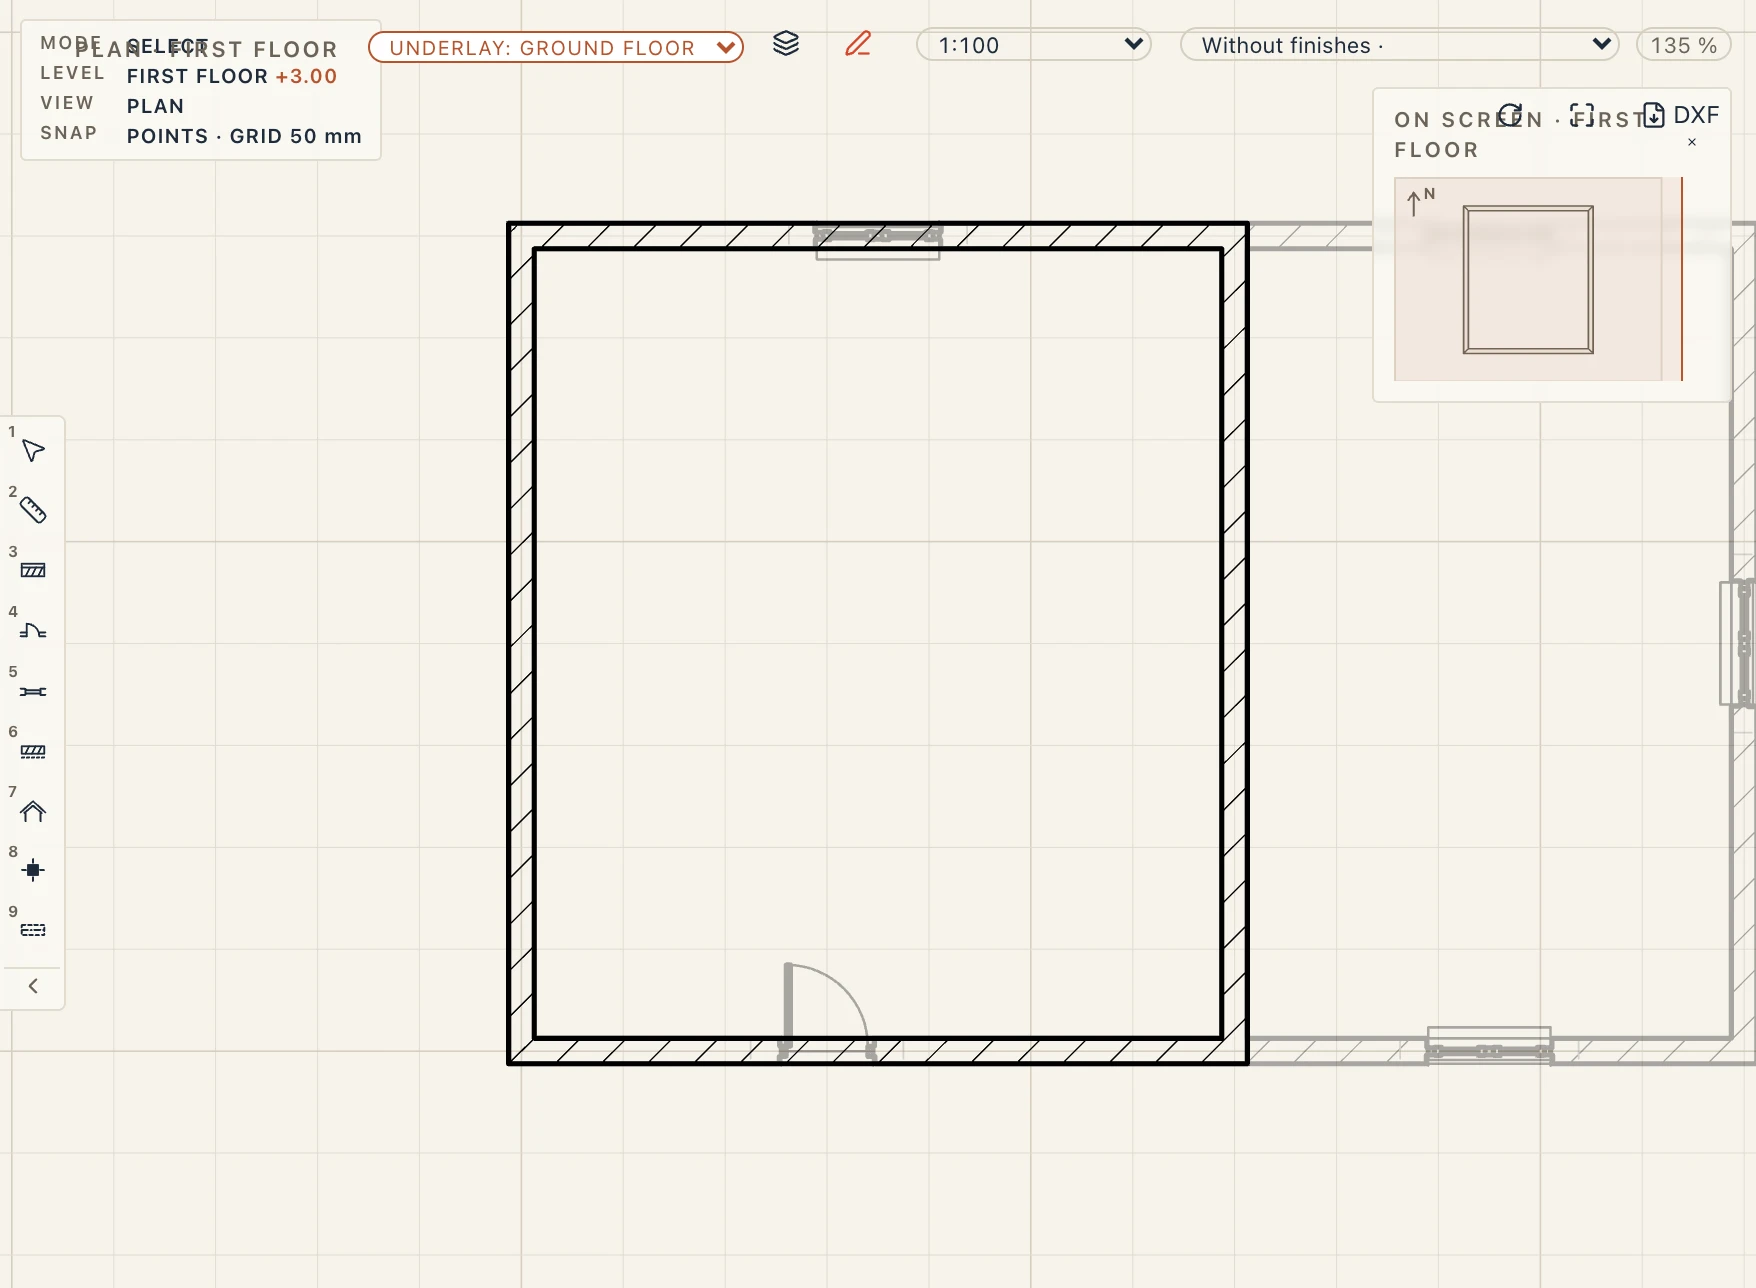
The underlay only helps you draw; it is not printed. To print other levels' elements on a plan, open the plan view's properties and choose them in Storeys shown. You can show some levels or all of them, in halftone if you want.
Copying to other levels
To repeat walls, floors or a whole layout on other levels, select it (walls with their doors and windows, floors, rooms, a group…) and choose Modify → Copy to storeys. You can also type COPYSTOREY on the command line, or right-click the selection in a plan or in the 3D view. Tick the levels to copy to. All above and All below tick every level over or under the selection's, and a Shift-click ticks every level between it and the last one you clicked. The level the selection stands on cannot be ticked.
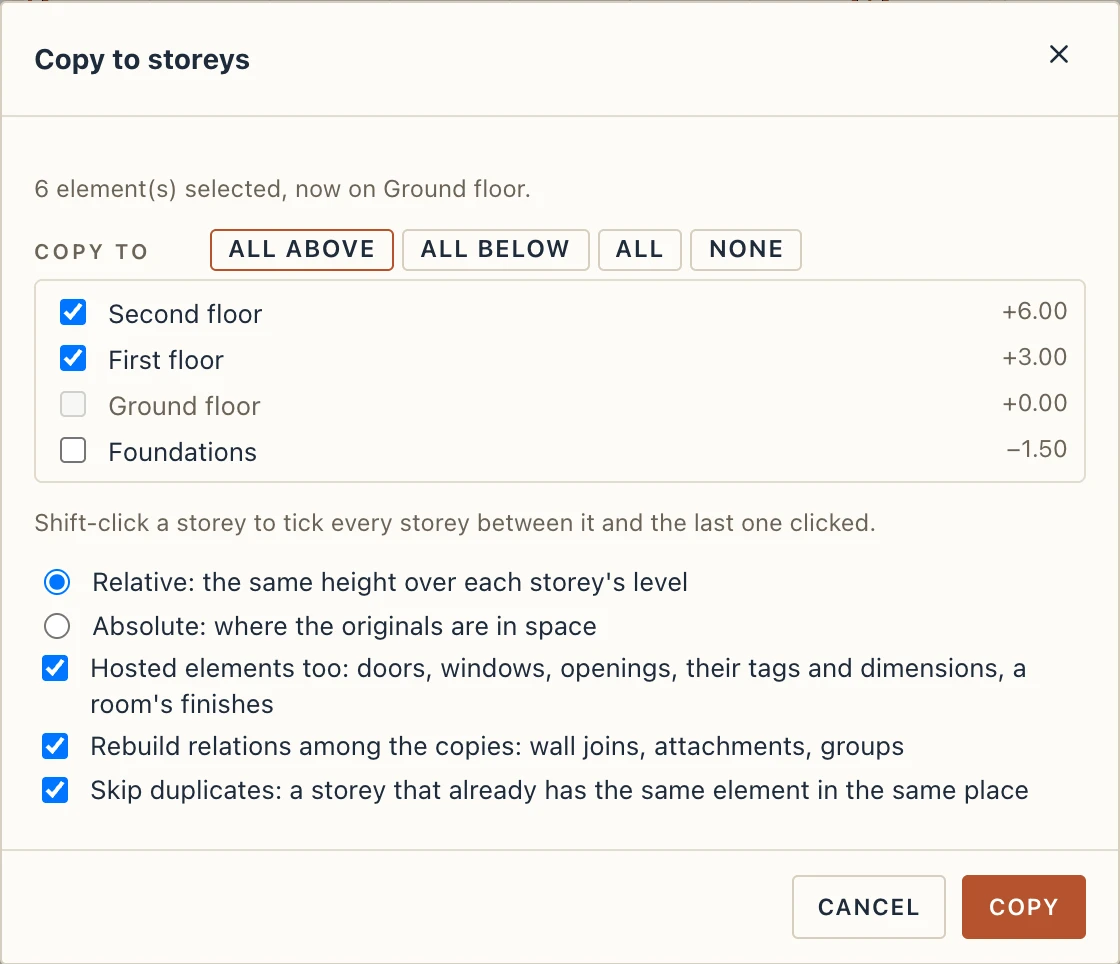
- Relative (the default): each copy stands at the same height over its new level as the original over its own. A wall drawn on the ground floor stands on the first floor.
- Absolute: each copy stays where the original is in space, on the new level. Its base offset makes up the difference.
- Hosted elements too: doors and windows go with their walls, and openings with what they cut. The tags and dimensions of the copied elements go from their level's plan to the new level's plan. A room takes its finishes and a stair the space under it. Untick it to copy the walls without their doors and windows.
- Rebuild relations among the copies: walls joined at a corner or a T are joined the same way on each new level. A wall attached to a floor or a roof that is copied with it is attached to that copy. A group becomes a group of the copies, and an assembly is copied whole. A stair climbs to the level above its new one and cuts its own opening in the floor there.
- Skip duplicates: a level that already has the same element in the same place does not get a second one. The message at the bottom says how many were skipped.
The copies use the same types as the originals and get new IFC GlobalIds. All the copies are one step to undo, and they stay selected afterwards, so you can move or change them together. In a shared session, a guest's copies are undone only by that guest.
To move the selection to another level instead, choose Modify → Move to storey. It keeps the elements' heights over the new level, or keeps them where they are in space.
An element's elevation
An element on a level stands at the level's elevation and an offset from it. Properties → Placement shows its Storey, its Offset from level and its Elevation above ±0.00: the base of a wall or column, the top of a floor or beam (a beam's offset is from the level's top), the bottom of a footing (its type's bottom level under the level, plus the offset). Type either figure and the other follows: the element moves in every view, in one undo step. To put an element on another level, change its Storey. What you draw in a plan stands on that plan's level.