User guide
Materials, textures and hatches
Set each material's colour, hatches and joints, put your own image on it, and bring your own .pat hatch patterns.
Manage → Materials lists the project's materials. Pick one to change it.
Appearance: how a material renders
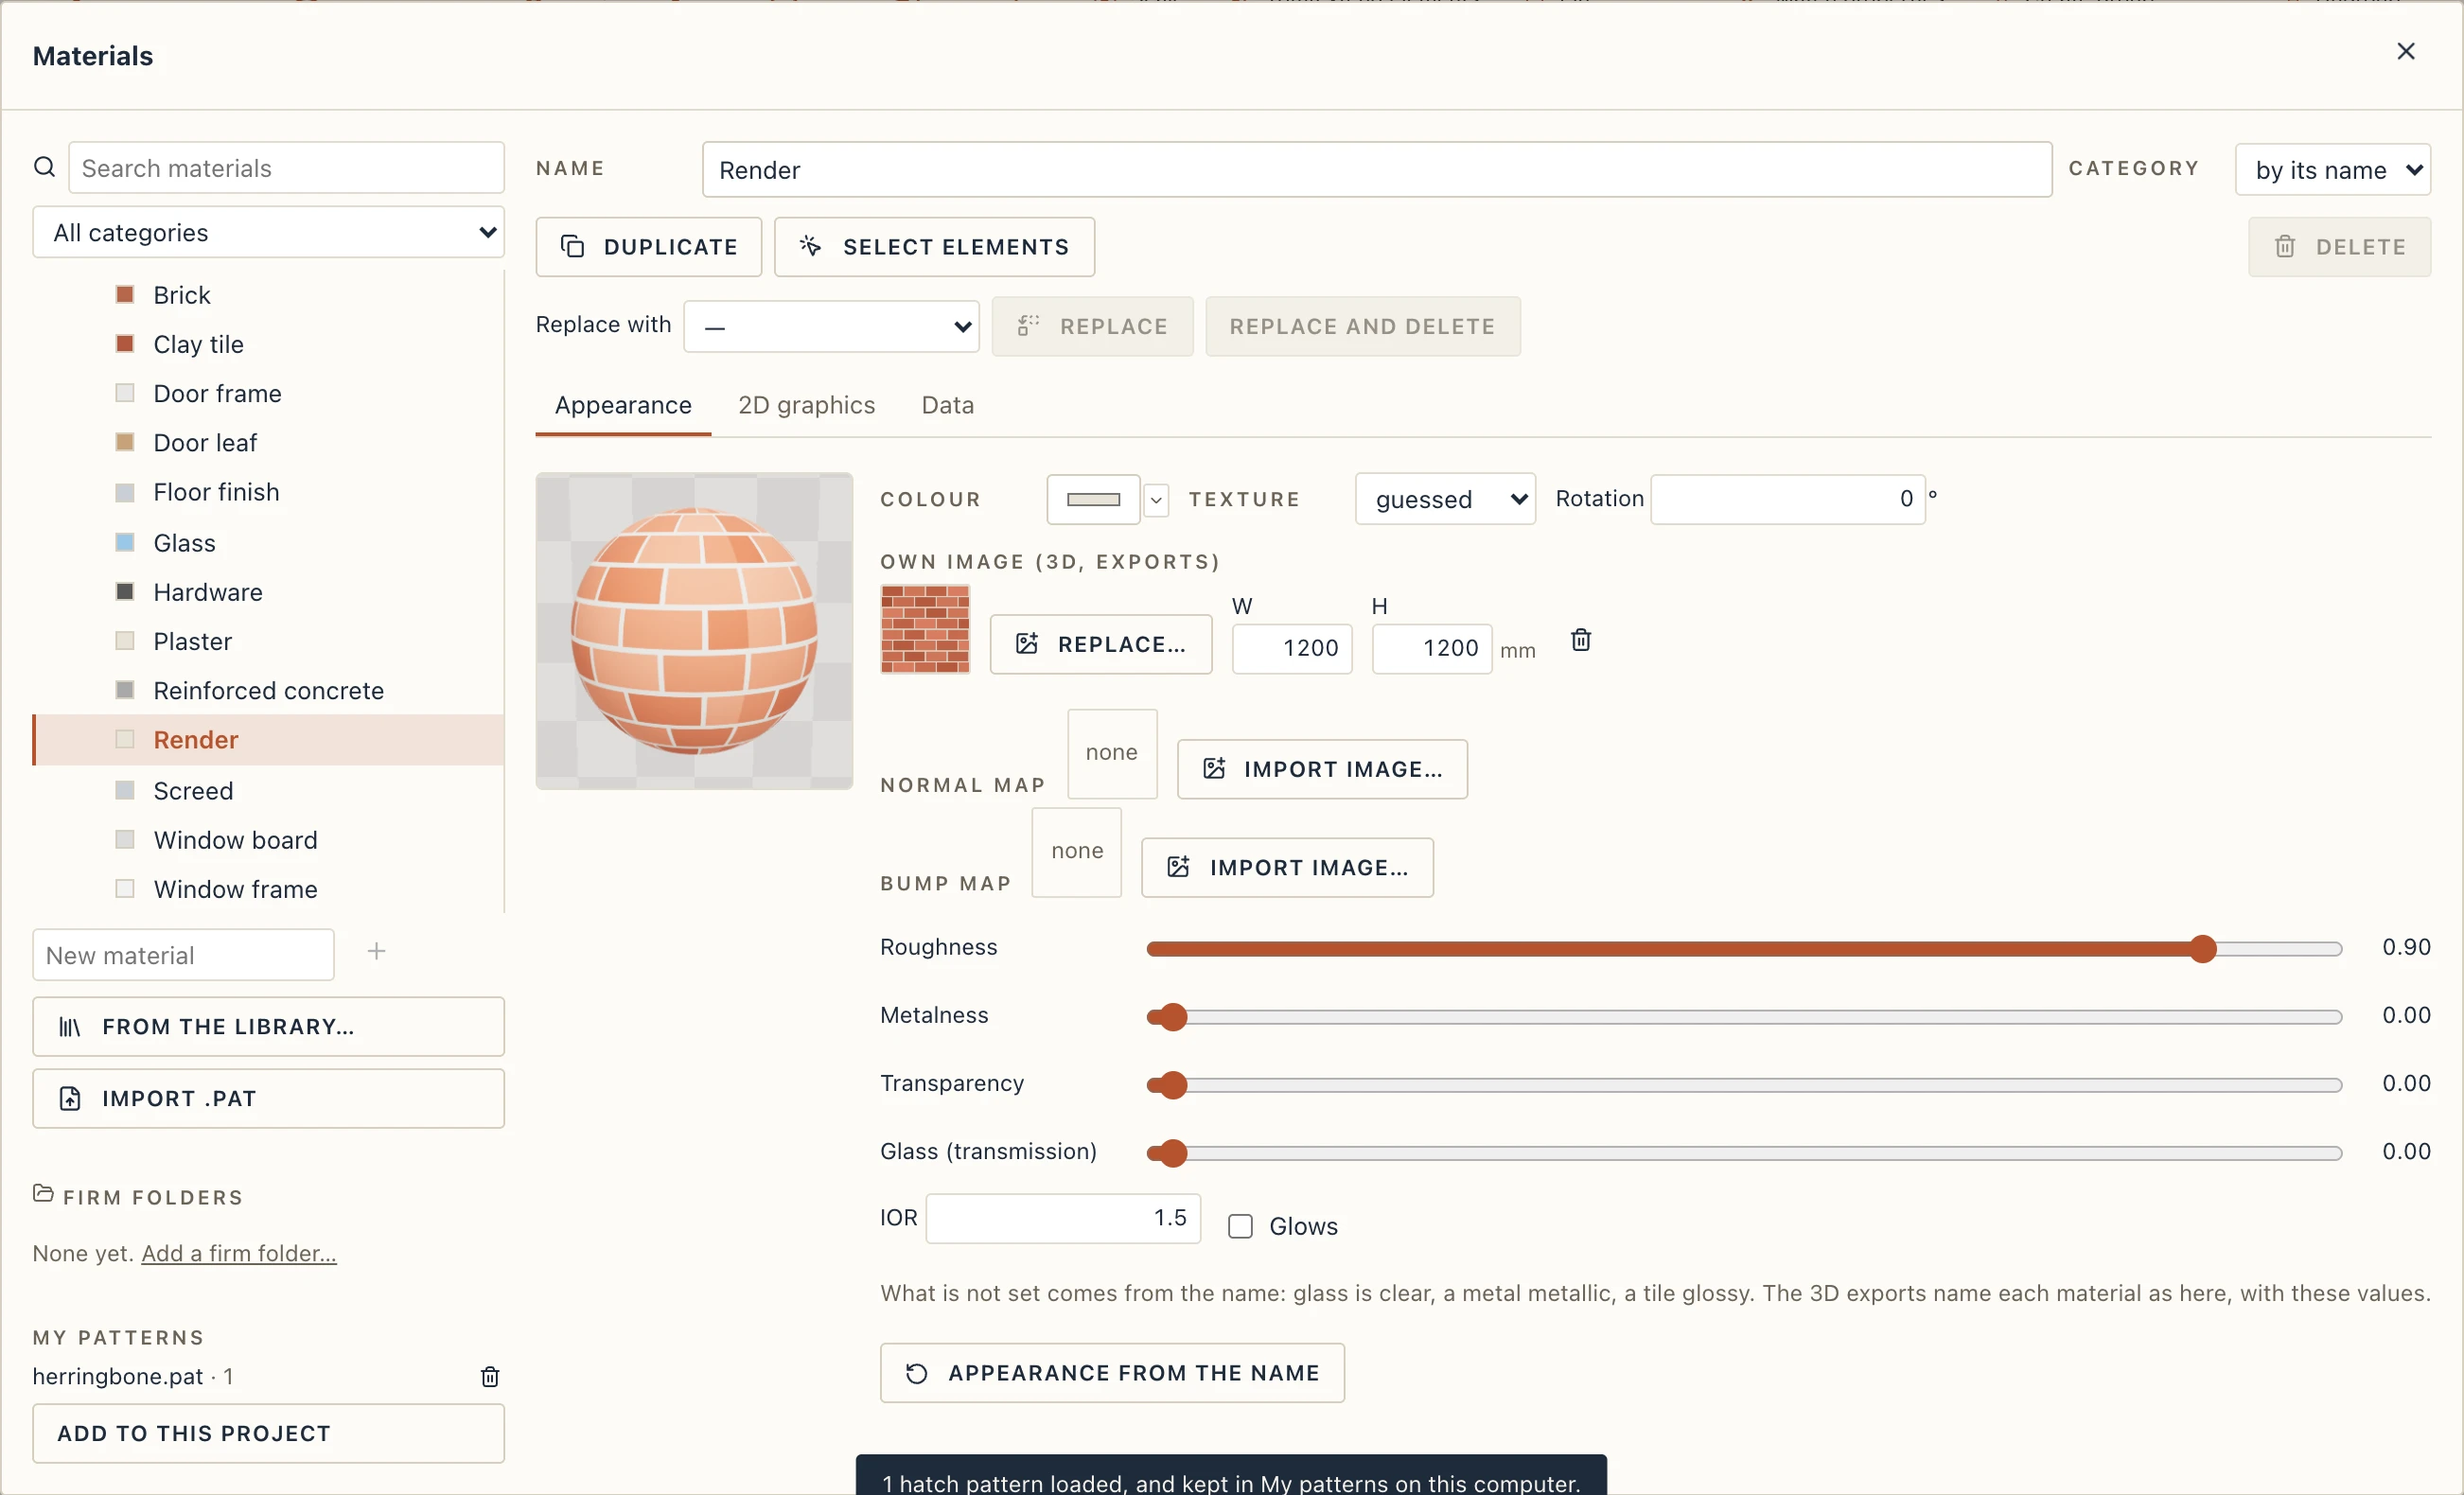
The Appearance tab sets how the material looks in 3D and in the renderers you export to. The 2D graphics tab keeps its hatches and pens, as before.
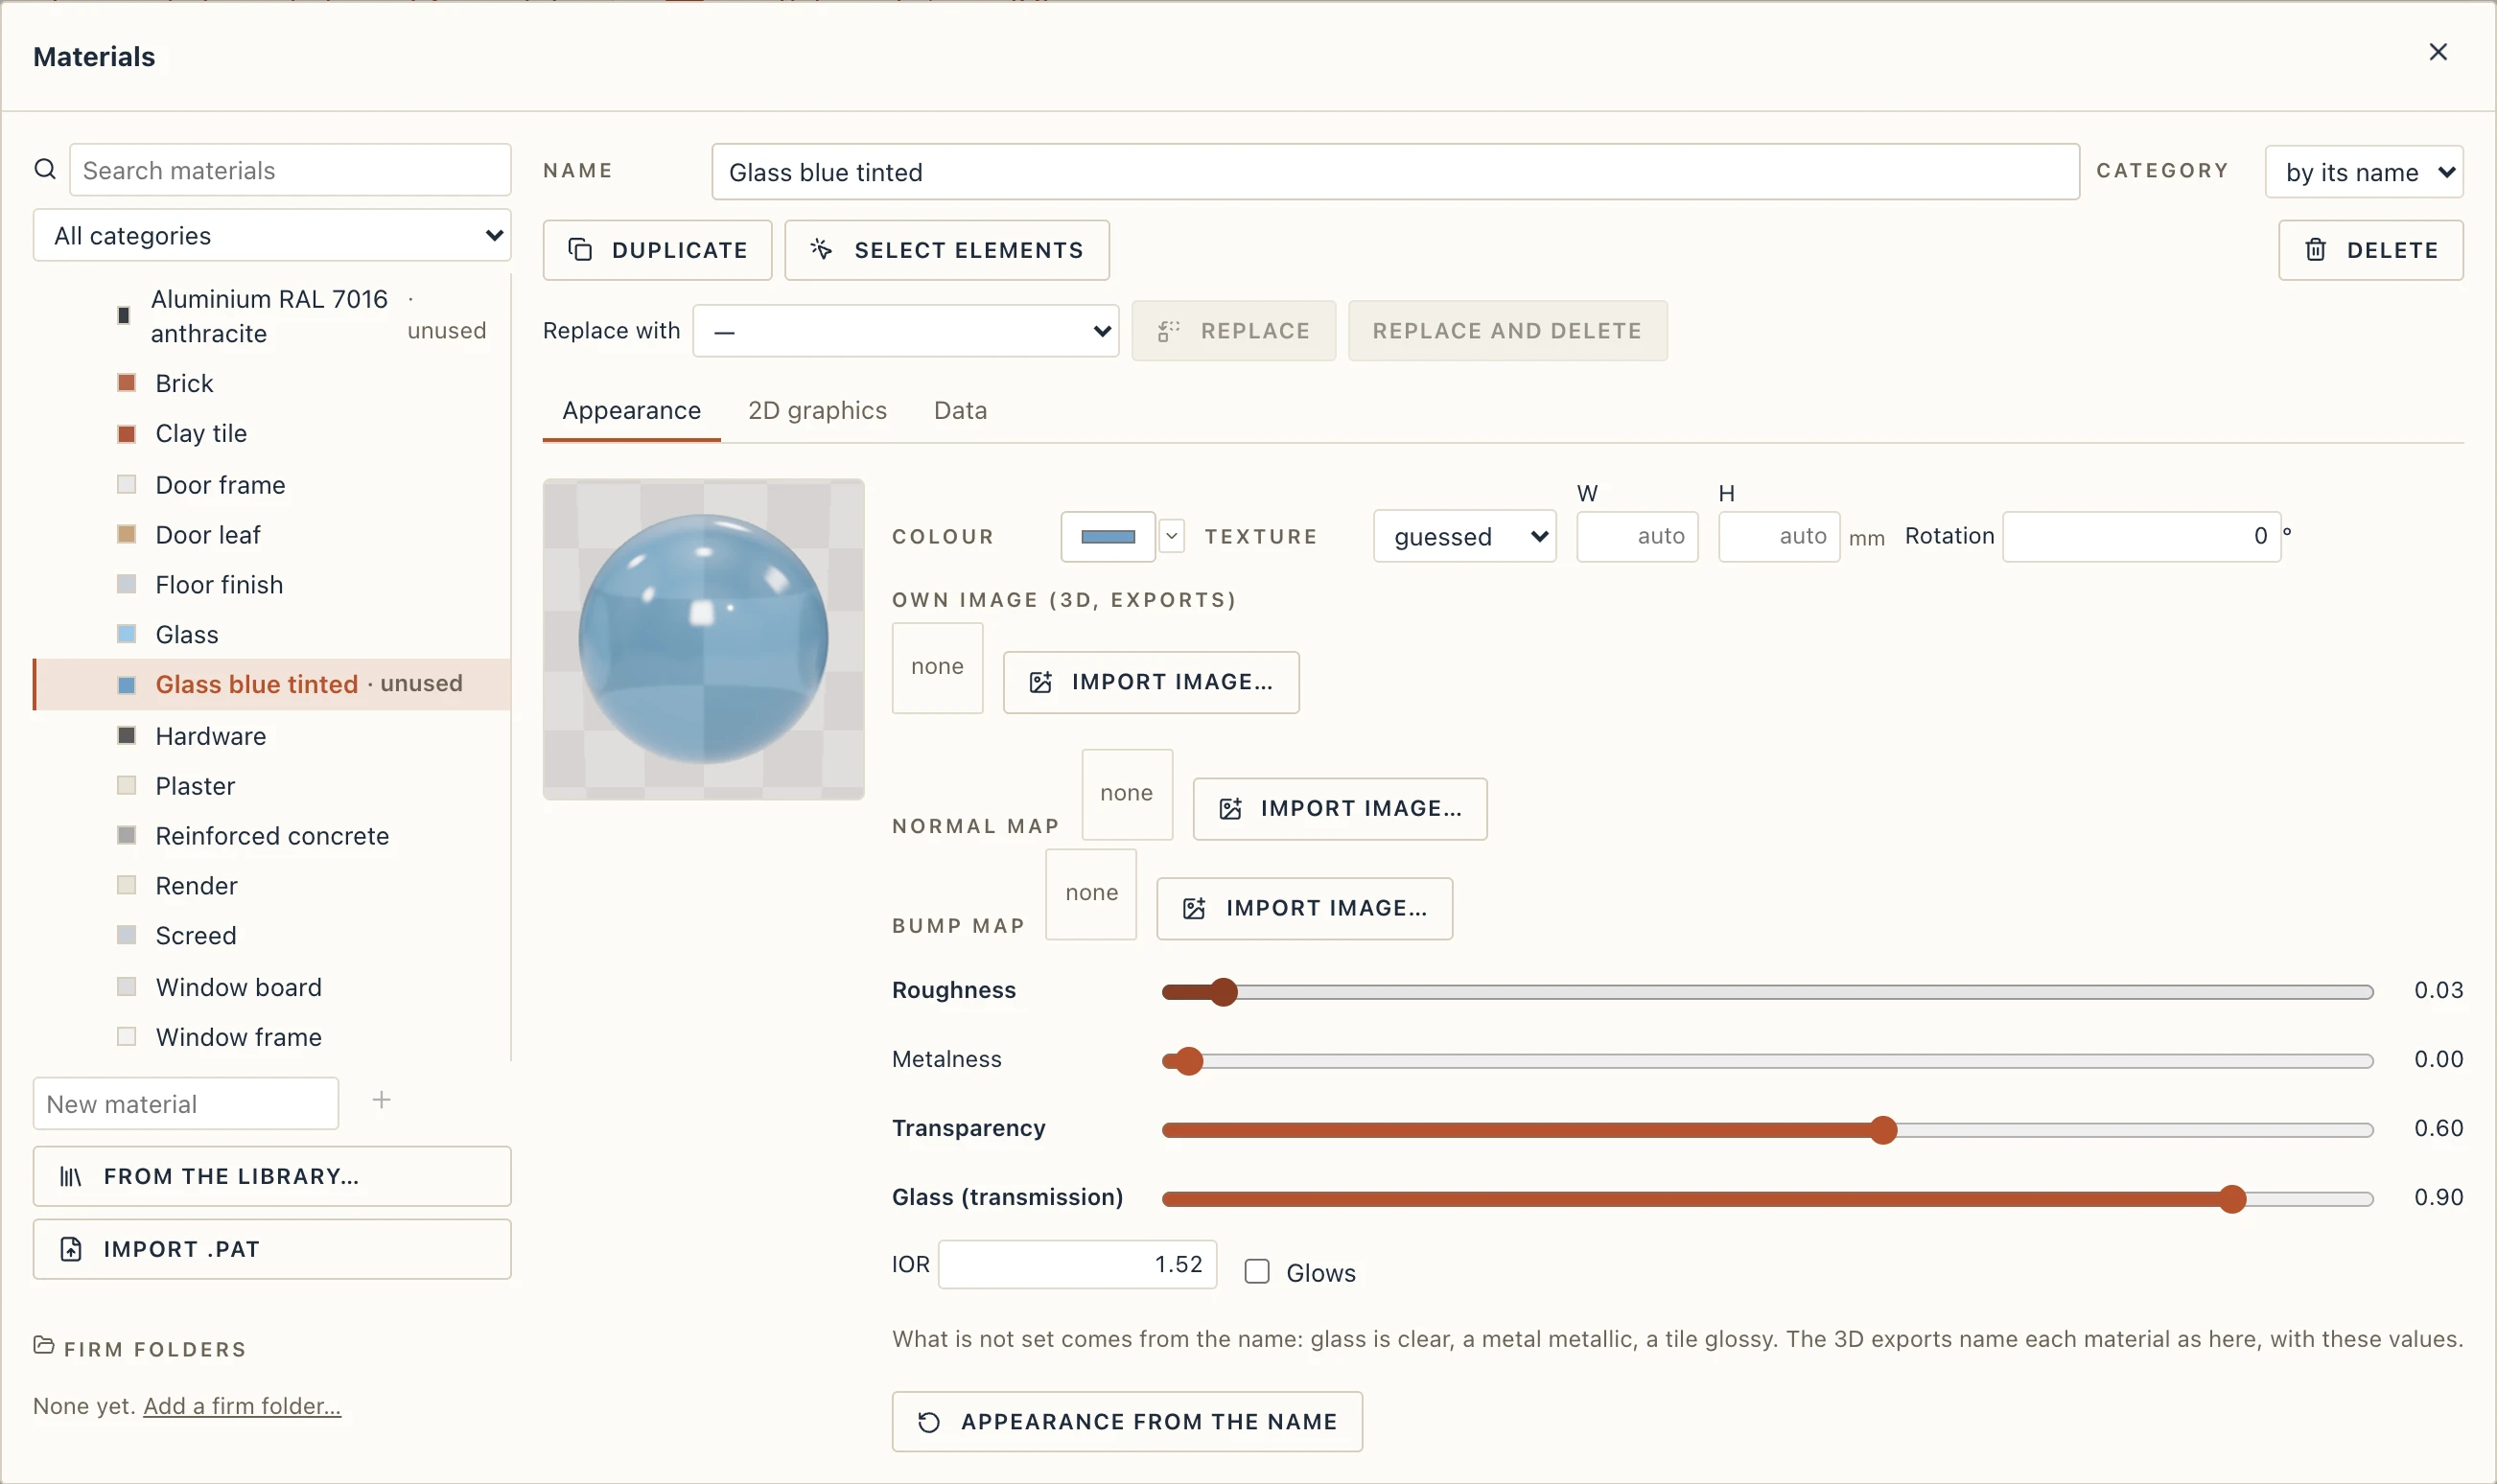
- Colour and Texture: a drawn texture (brick, wood planks, tiles…) or your own image. The arrow beside the colour opens the swatches: recent colours, the project's palette and your own, with Add the colours of the materials in use (see Colour swatches). W and H set how large one tile lies on the model, in metres; Rotation turns it.
- Roughness: 0 is a mirror, 1 is chalk. Metalness: 1 for bare metal (anodised aluminium, steel, chrome), 0 for anything painted or powder-coated, wood and stone.
- Transparency: how much shows through. Glass (transmission) and IOR (1.52 for glass) make glass refract in a renderer.
- Glows gives off light, like a lamp's diffuser.
The sphere shows the result at once. What you do not set comes from the name: a material called glass is clear, steel is metallic, parquet and laminate are wood planks. Appearance from the name takes your values off again.
From the library
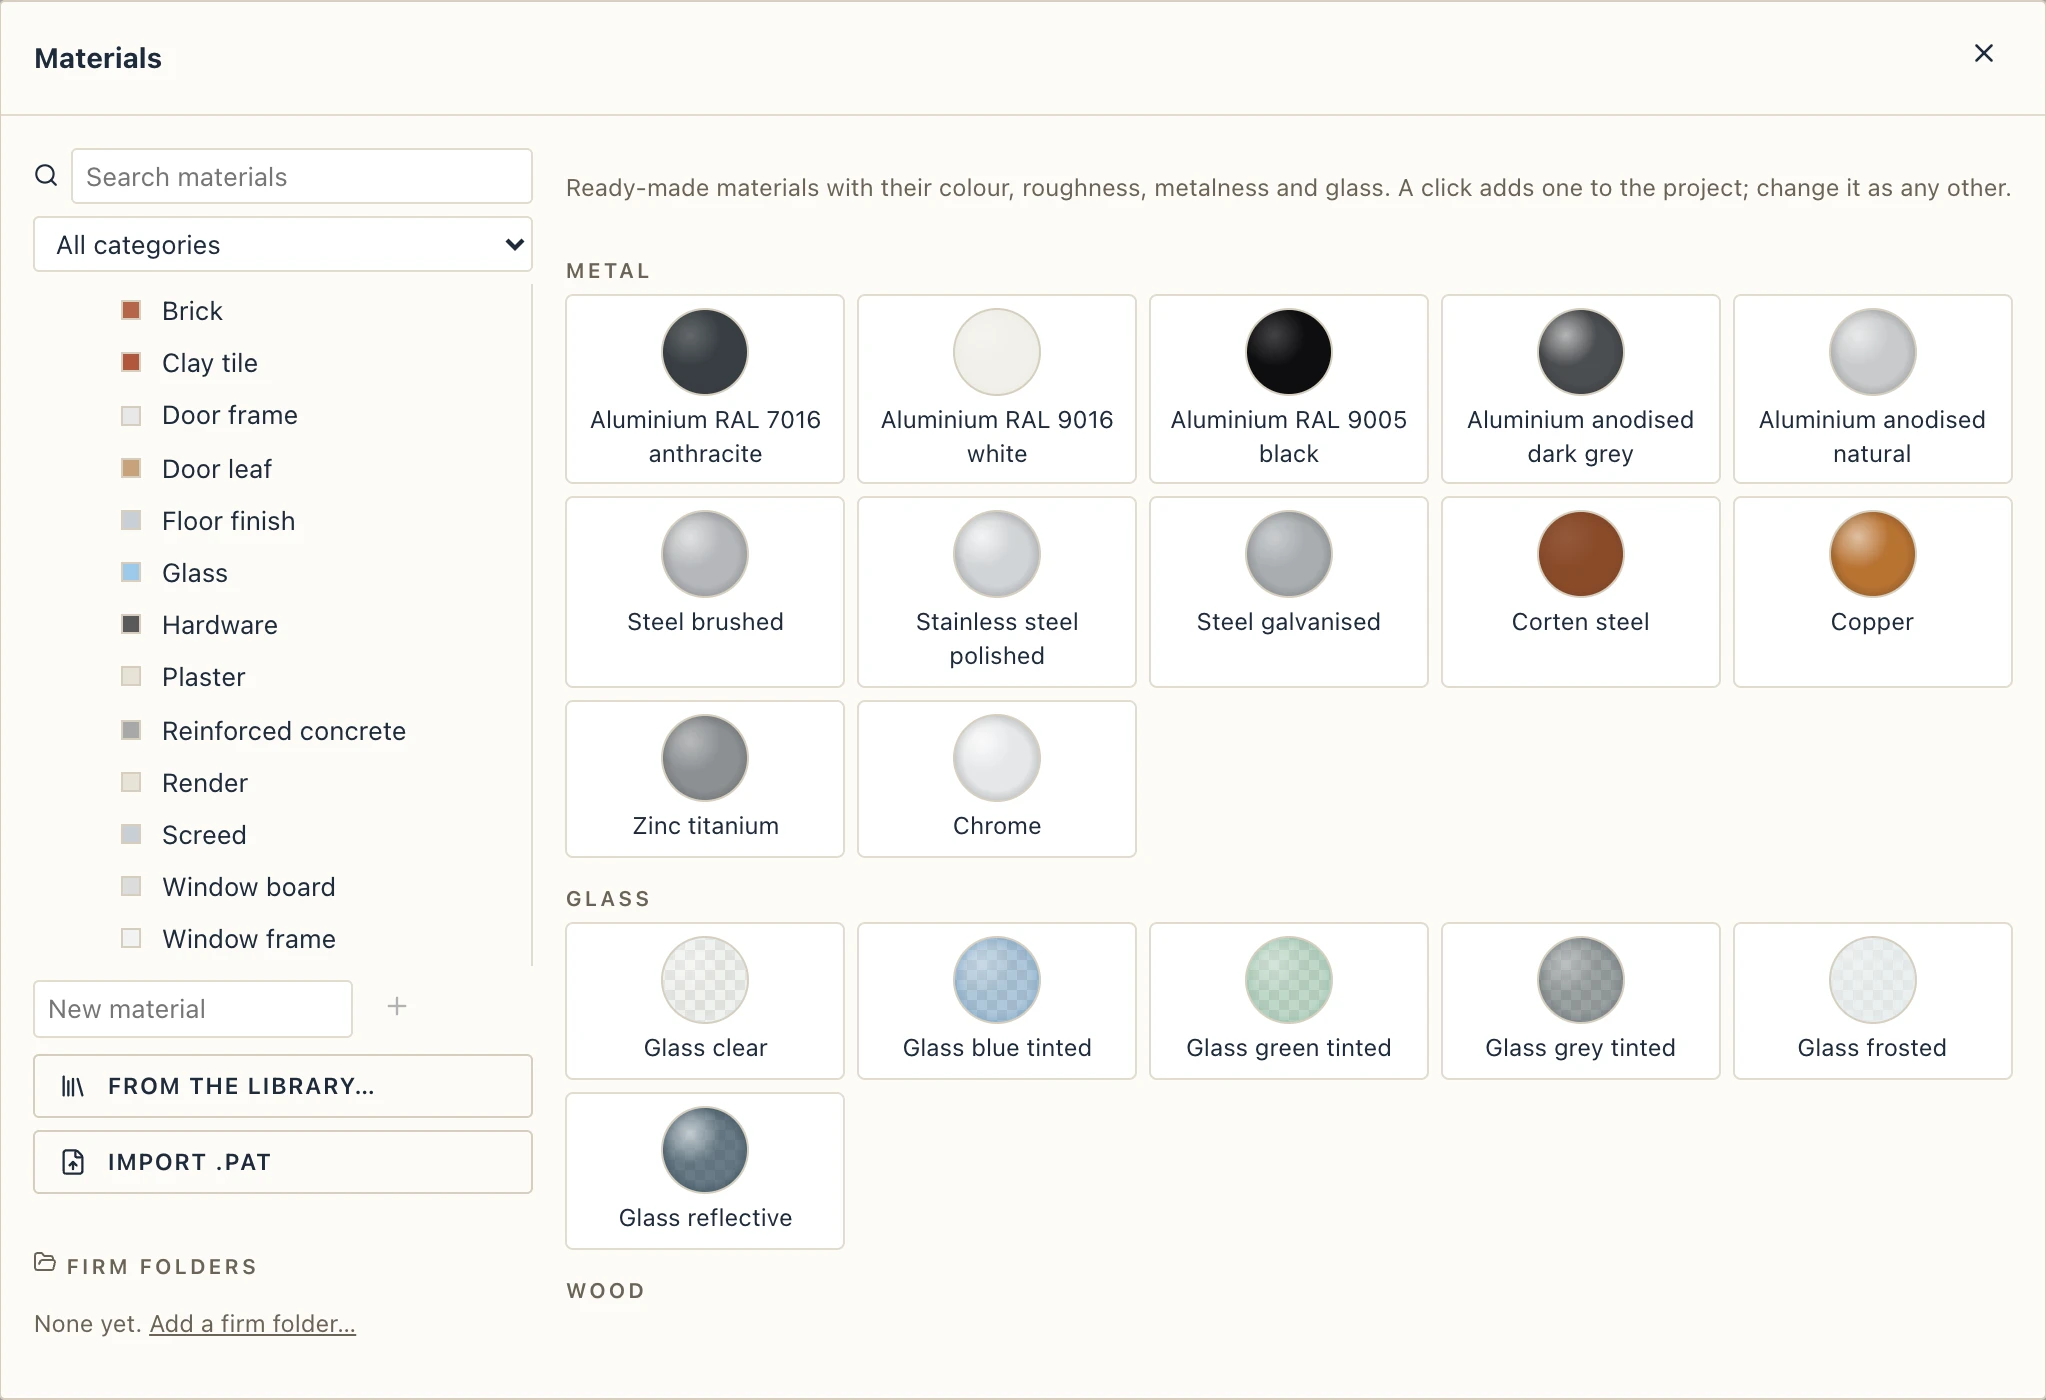
From the library… offers ready-made materials: metals (aluminium RAL 7016 anthracite, anodised, steel, copper…), glass (clear, blue, green, grey, frosted, reflective), woods as planks, concrete, brick, plaster and paint, tiles and stone, plastic and fabric. A click adds one to the project; change it as any other.
Data: description, parameters, how it is measured
The Data tab holds what the material says of itself. You write it once; every type the material is in reads it: the build-up tag, the takeoff, the estimate, the IFC export.
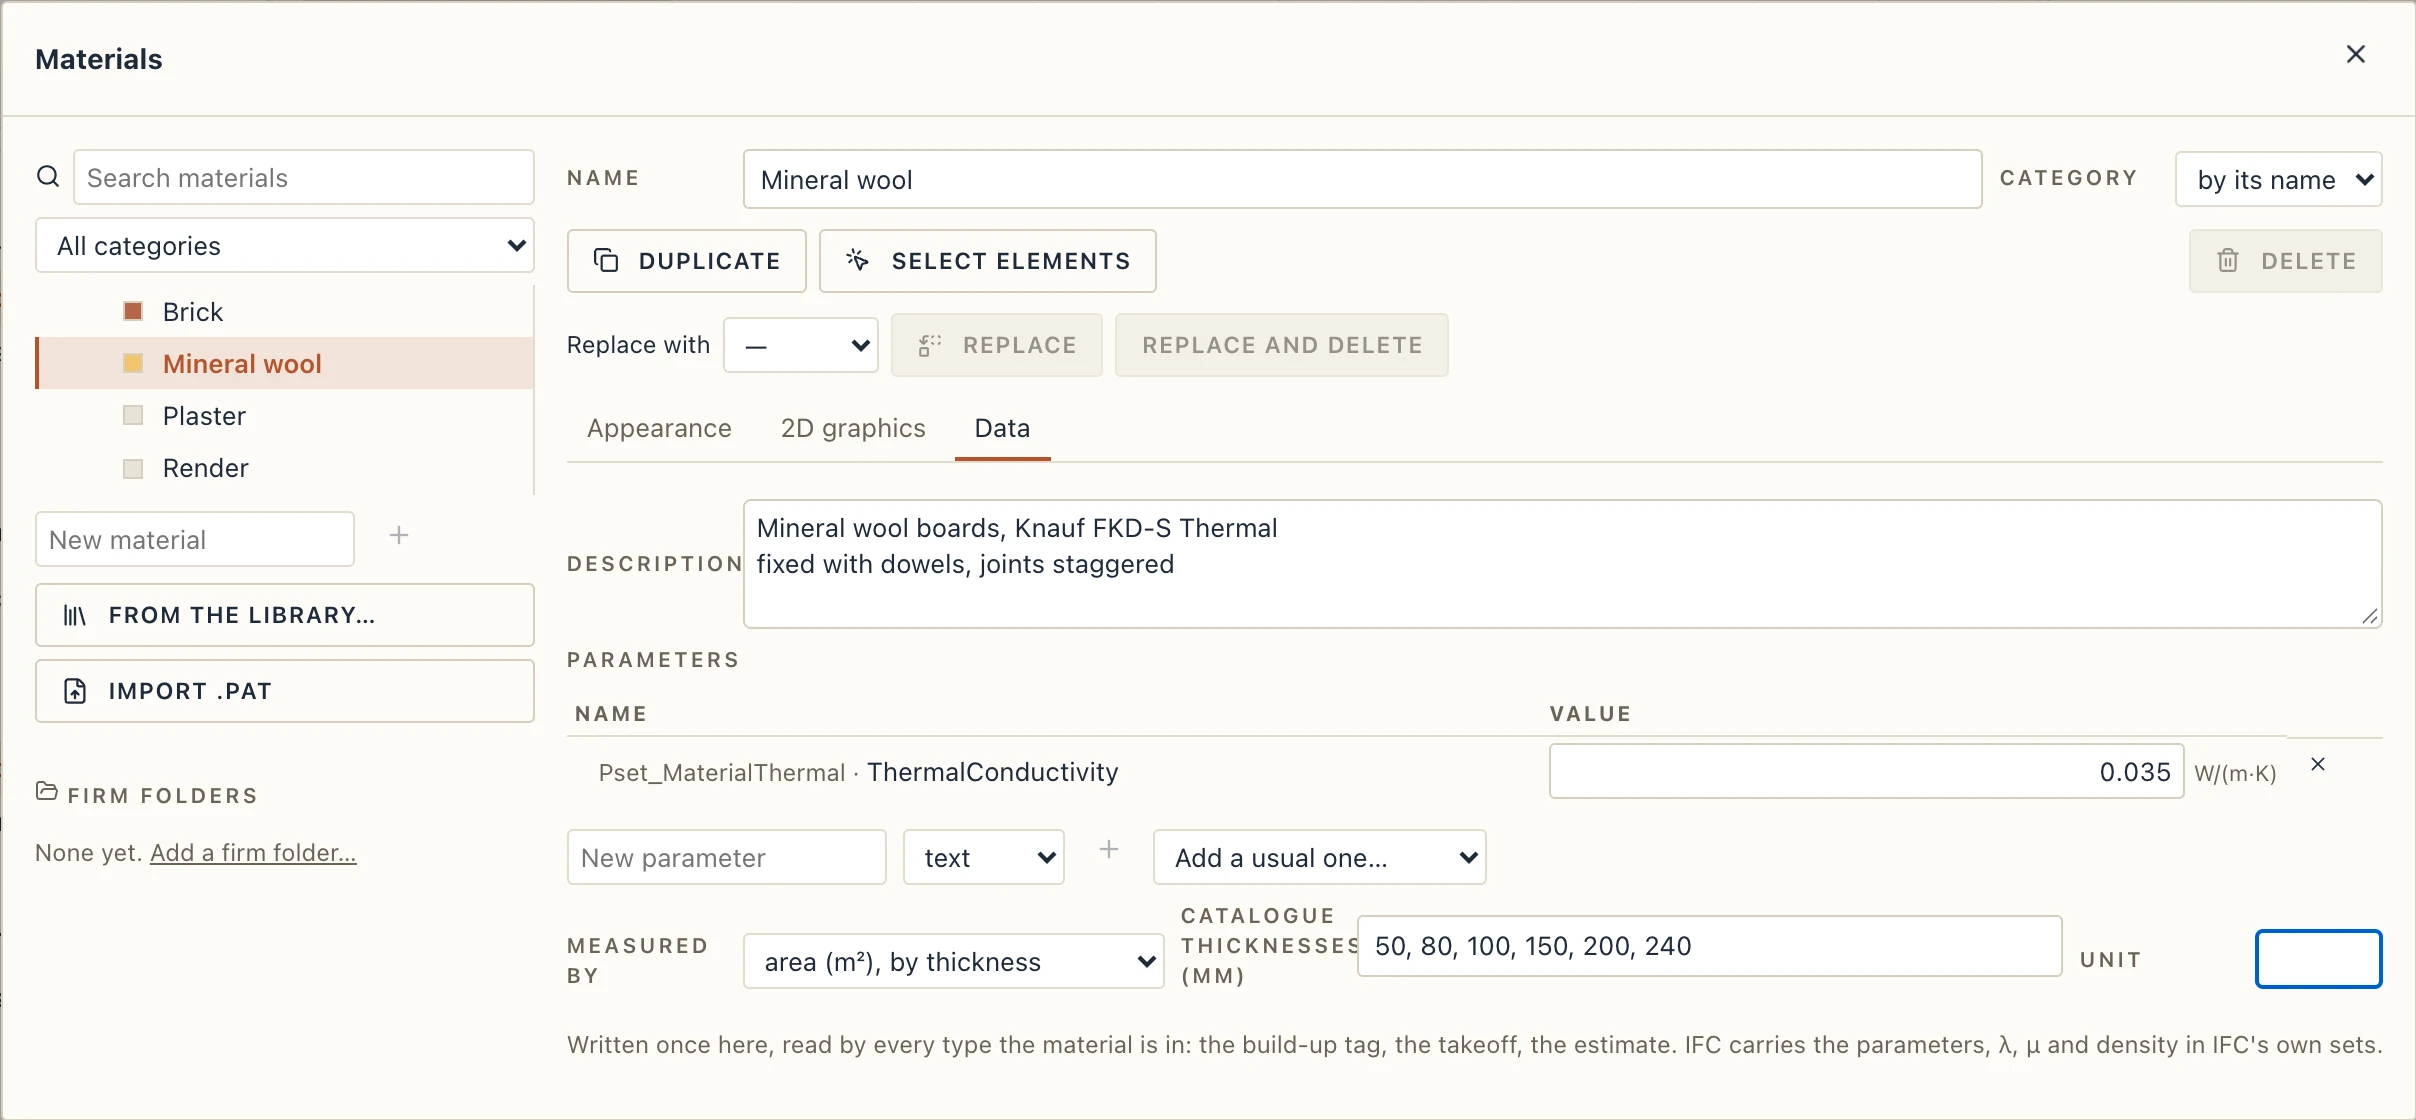
- Description: the specification text, on several lines (Mineral wool boards, λ = 0.035 W/mK, fixed with dowels). A build-up tag writes it in place of the name.
- Parameters: a name, a kind and a value, as on elements. Add a usual one… offers Thermal conductivity λ, Vapour resistance μ and Density, which go to IFC under their standard names (Pset_MaterialThermal.ThermalConductivity, Pset_MaterialHygroscopic.UpperVaporResistanceFactor, Pset_MaterialCommon.MassDensity, in SI units), and Reaction to fire and Compressive strength, which stay your own. Your own parameters go to IFC as Lapin_Material.
- Measured by says how Construction → Quantity takeoff (by material) and the estimate count it: area (m², a row per thickness: boards, insulation, membranes), volume (m³: concrete, ballast, screed), mass (kg, from its density) or count (pieces of a board of the size you give). Left empty, it is measured as its elements are.
- Catalogue thicknesses (mm): the thicknesses its maker makes it in, for example 50, 80, 100, 150, 200, 240. The layer tables of Wall types and Floor types offer them beside the thickness (you can still type another), and a layer of another thickness is marked with a warning sign.
The IFC export writes the description as the material's Description and the parameters as its property sets; an import reads them back, also from another program's file.
One material for all frames and all glass
New doors and windows are made of shared materials, part by part: Window frame, Door frame, Glass, Door leaf, Window board and Hardware. Change Window frame once and every window frame changes.
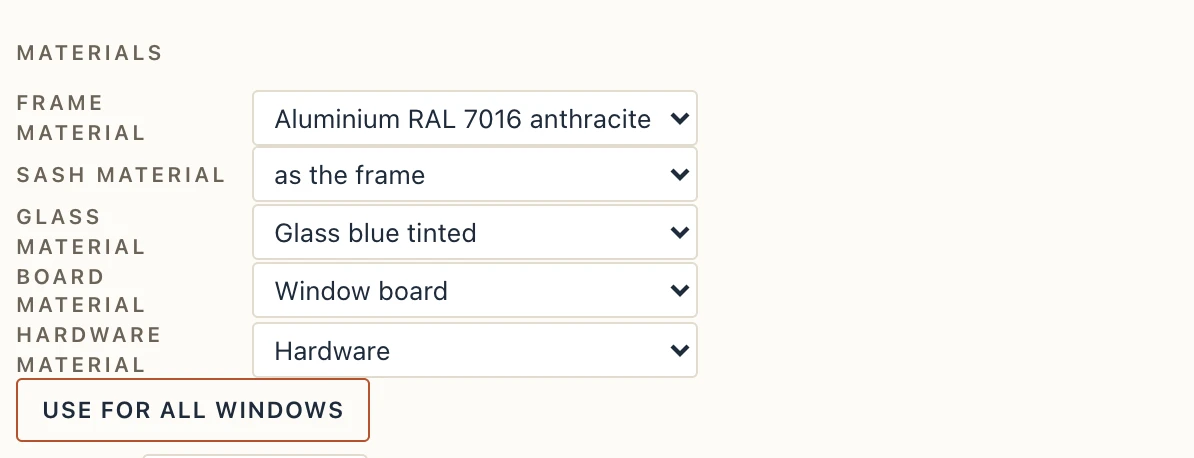
To use other materials, open Architecture → Doors & windows, choose the Frame material, Glass material and the others for a type, and click Use for all windows (or Use for all doors). Every type of that kind takes them, in one undo step. Curtain walls have a frame and a glass material too.
Duplicate, replace, select
- Duplicate copies a material under a new name.
- Replace with a material, then Replace: every layer, type, door, window and element that used the first now uses the second, in one undo step. Replace and delete also removes the first. A material in use cannot be deleted otherwise.
- Select elements selects every element with a part in the material.
- Search materials and the category list filter the list.
Materials for rendering
Twinmotion, Lumion, Enscape, Blender and other renderers swap materials by name. Lapin writes each material once, under its own name, with its colour, texture, roughness, metalness and glass, and splits every element's mesh by material.
- Name your materials as you want them in the renderer, for example Aluminium RAL 7016 anthracite for all frames and Glass blue tinted for all glass.
- File → Export 3D (glTF, USD, DAE)… and choose GLB (recommended: one file with the textures, the exact names and the glass), USDZ, or OBJ + MTL (a .zip with the textures; spaces in names become underscores).
- Import the file into the renderer. Every frame shares one material there; replace it once with the renderer's own metal, and all frames change.
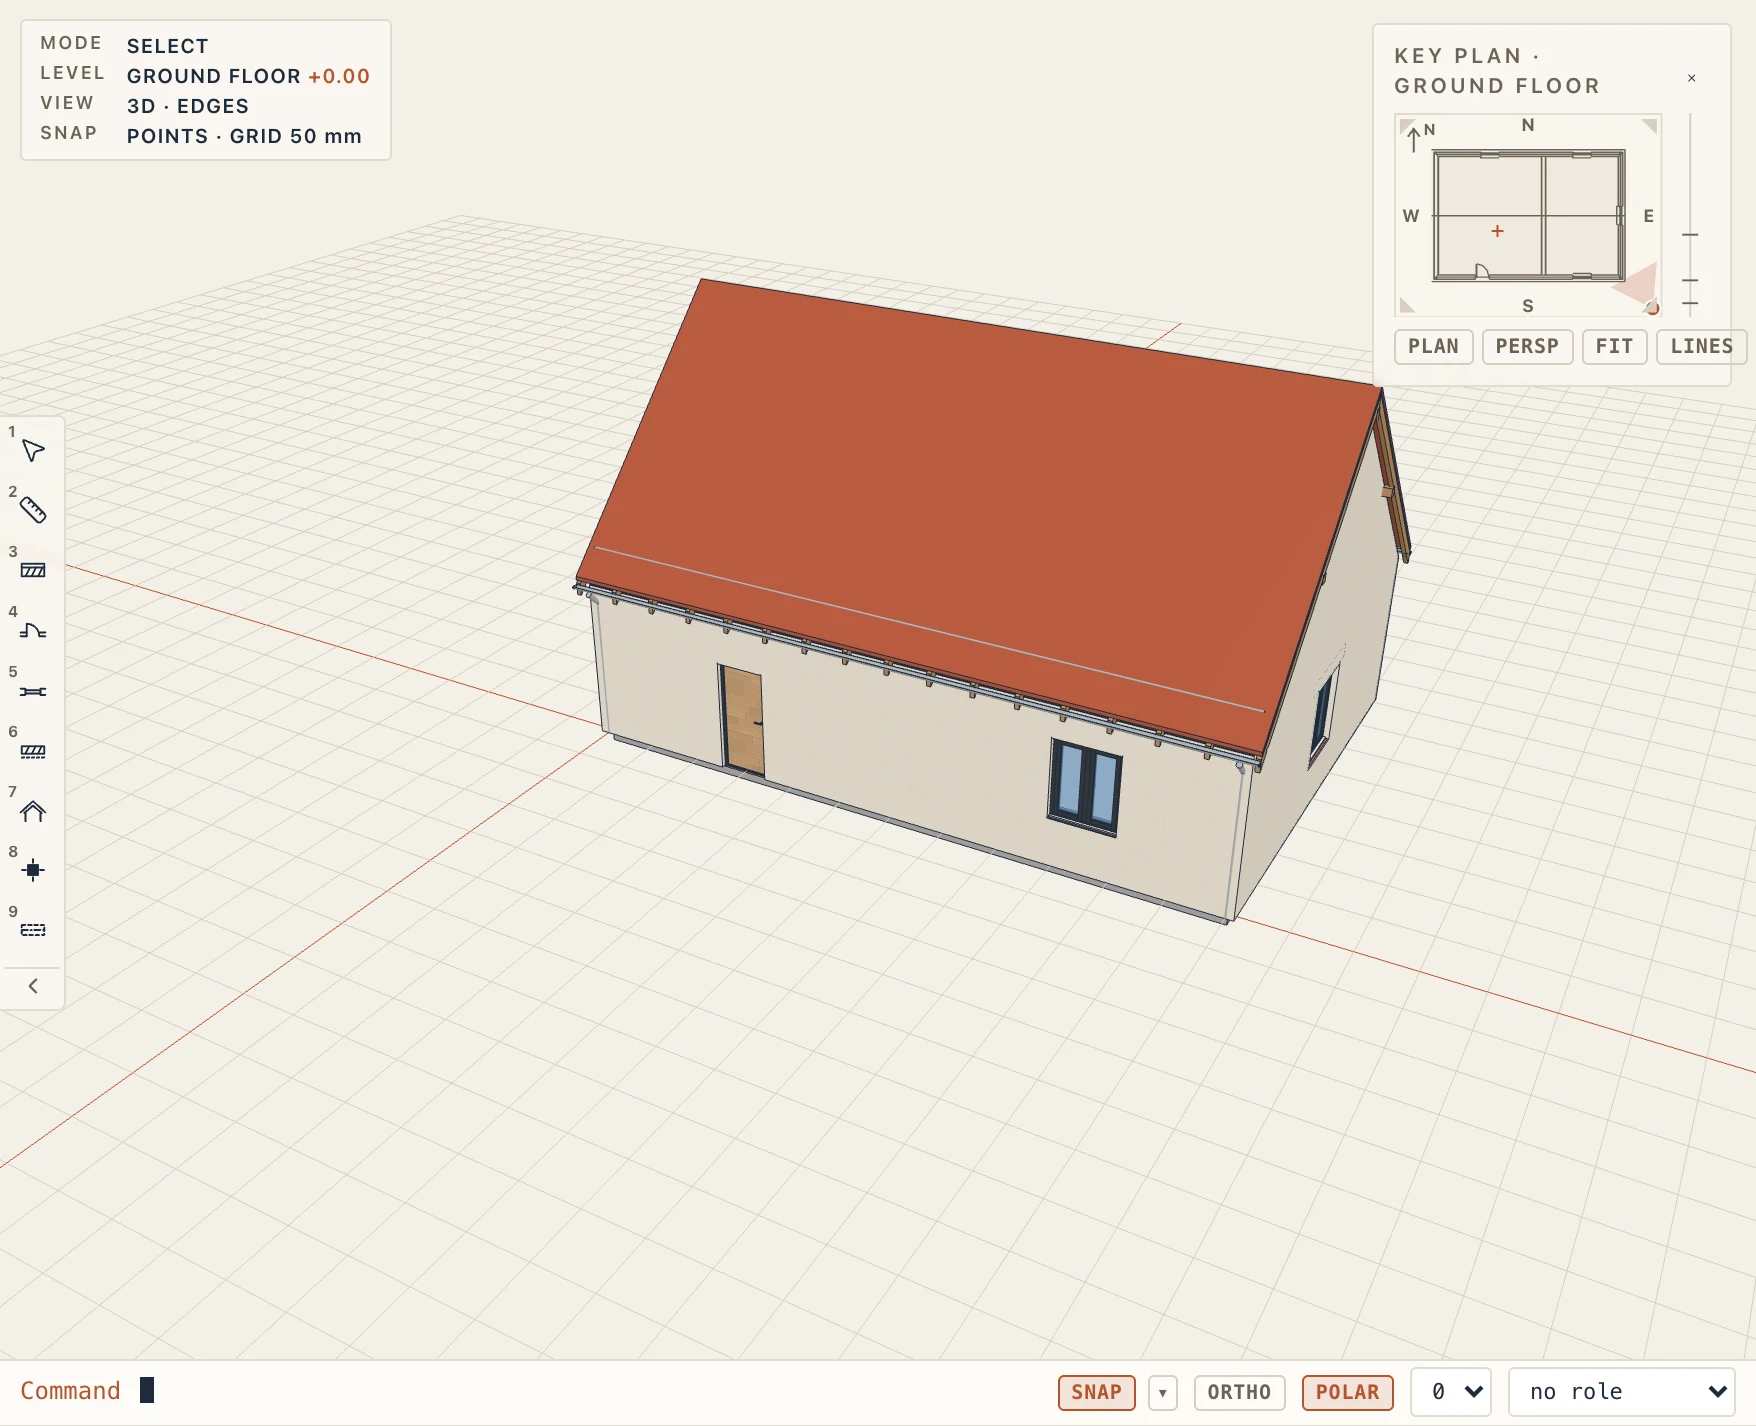
The IFC export names each material's surface style after it too, with its transparency and how it reflects. Doors and windows also carry their material per part: a material constituent set named Frame, Sash, Glazing, Panel, Board and Hardware, on each door and window and on its type, so a viewer or renderer reading the IFC finds the frame's metal and the glass by part. Importing such a file (from Lapin, or from another program that writes IFC4's Lining, Framing and Glazing) gives the door and window types those materials again.
An IFC file from another program brings its glass see-through: the transparency of a material's surface style, or of the style on a body itself, becomes the material's Transparency (a body's style gives its part a material named after the style). The imported file itself is never changed.
What a material sets
- Colour (3D) and the faces drawn on it in 3D. Lapin guesses them from the name, for example a brick's courses or a tile's grid. Ends and Top and bottom can look different from the faces.
- Hatch for each place it is drawn: cut in a section, cut in a plan, and seen in an elevation. Each has its scale, angle, alignment, fill and pen. A SOLID hatch fills in its fill colour (Fill → colour…, for example yellow for insulation), in plans, sections, sheets and the 3D's cut; without a fill it is black. Until you give it one, a cut takes the pattern its name suggests, as Revit's default materials do: brick, masonry and stone 45° lines (MASONRY), concrete blocks and aerated concrete a diagonal crosshatch (BLOCK), concrete, cast in place or reinforced, speckled (CONCRETE), rigid insulation (EPS, XPS, PIR) a fine square grid (RIGID), mineral wool BATT, gypsum and plaster a stipple (GYPSUM), sand a dense one (SAND), timber WOOD, plywood, OSB and CLT WOODCROSS, steel STEEL, earth EARTH, gravel GRAVEL, tiles TILES; glass, air, paint, membranes and any other name none. Brick's courses are an elevation's. A project made before keeps the hatches it had. An elevation or a section hatches the faces it sees with the elevation hatch, where nothing nearer hides them (Views, Surface hatches); until you give it one, its name suggests one (brick BRICK, stone STONE, timber BOARDS, metal cladding VERTICAL), never insulation's BATT.
- Category, for example finish, insulation or structure. The view styles use it to leave the finishes out of a structural view.
- Membrane draws a thin layer as a dashed line instead of a band.
- Draw joints. By default, a material runs on from one element into the next without a line, like two walls in line or render over two storeys. Tick it to draw the joint.
- Joins with other elements. On by default: elements of this material join where they meet others. Walls join at their corners and beams into columns, the cut order lets one element cut another (a column through a beam, a beam into a wall's head), and a drawing merges the cuts of touching elements of the same material into one area. Untick it for members that must keep their shape, such as steel girders or timber trusses. Their elements are then not joined automatically, nothing cuts them and they cut nothing, and plans and sections draw each one's own outline. A beam stops at the faces of the columns its ends stand in, but runs whole through a column it passes. Unticking it takes off the joins of the walls, beams and strip footings mainly of this material; ticking it again joins them to what they meet. You can undo either in one step. The library's steel and timber materials join by default, as before.
Your own image on a material
A material can carry a picture of your own: a photo of the real brick, timber or stone.
- Pick the material and click Own image → Import image…. Choose a PNG or JPEG file.
- Set W and H: how wide and how high, in metres, one copy of the picture is on the model. The picture repeats across the faces.

The picture shows in the 3D view and is saved inside the project file. It also goes into the 3D exports: GLB, glTF and USDZ carry it. DAE and USDA are single files with no room for pictures, so they keep the material's colour.
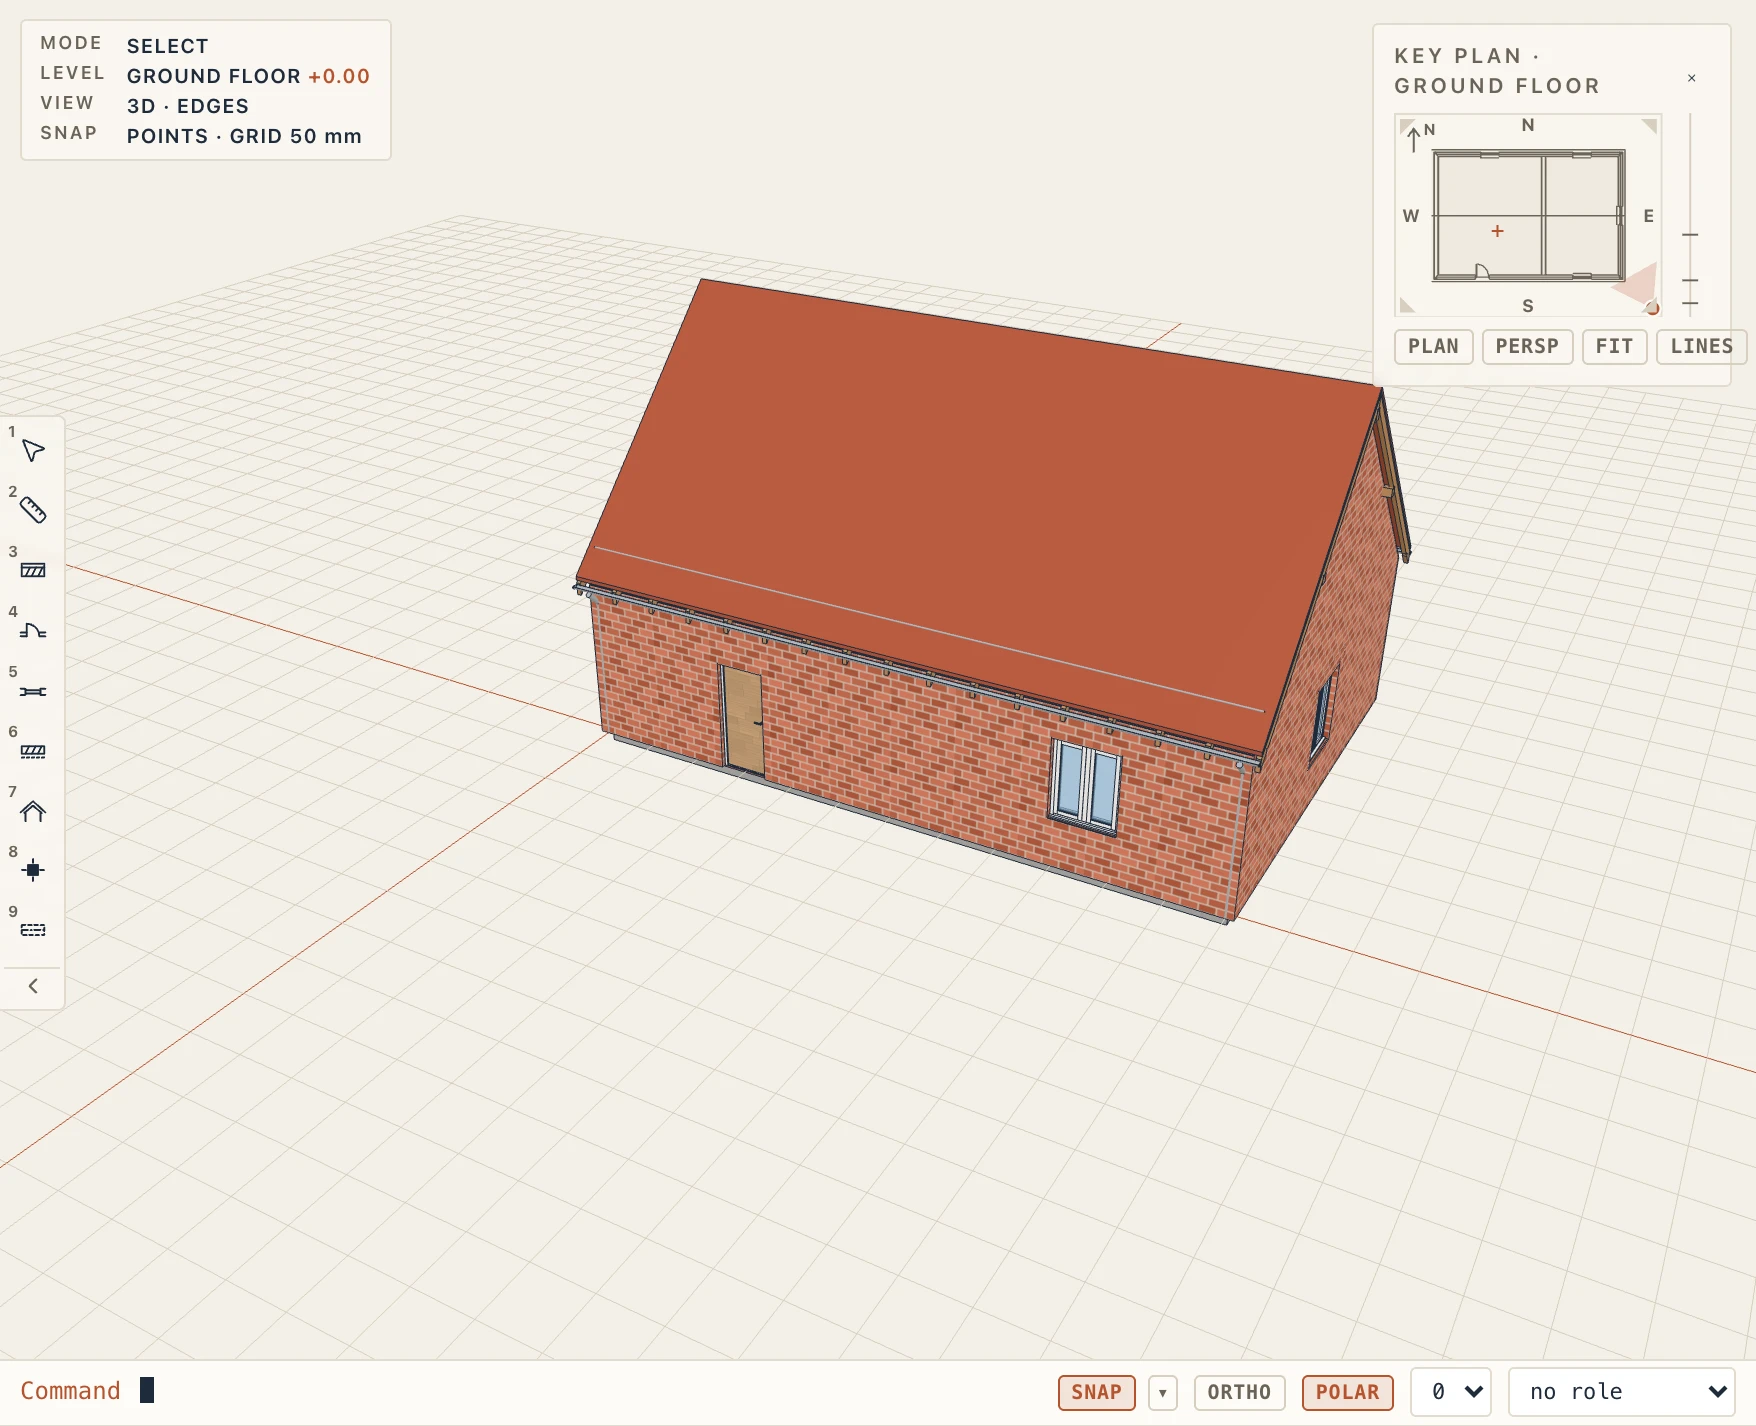
Pictures larger than 2048 pixels are reduced to that size when you import them. The trash button removes the picture from the material.
Normal and bump maps
Under the own image, a material can take two relief maps, each a PNG or JPEG of your own:
- Normal map: the purple-blue picture renderers and texture sites give with a material (tangent space, green up, as glTF reads it). The faces shade as if they had its relief: a brick's mortar joints, a timber's grain, a stone's roughness.
- Bump map: a grey picture, white high and black low. The faces shade as if raised where it is light.
Click Import image… beside one and choose the file. Both lie on the model as the own image does, at W × H and turned by Rotation; a first relief map on a material without a size gives it one 1 m wide, as high as the picture's proportion. Strength sets how strongly the relief shows: 1 as the picture says, 0 flat, up to 10. The preview sphere and the 3D view show both, and the trash button takes one off.
In the exports:
- GLB and glTF carry the normal map as the material's normal texture, at its strength.
- USDZ packs the normal map beside the model and connects it to the surface's normal.
- OBJ + MTL writes the normal map as
normand the bump map asmap_Bumpwith its strength (-bm). A material with a normal map and no bump map writes the normal map asmap_Bumptoo, where Blender and most renderers read it. - glTF has no bump map, so GLB, glTF and USD leave it out; DAE and USDA carry no pictures at all, so neither map goes there.
Your own hatch patterns (.pat)
Import .pat reads an AutoCAD hatch pattern file. Each pattern in it is added to the project, ready to be chosen as a material's hatch.
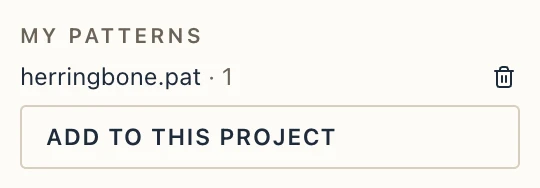
Lapin also keeps the file in My patterns on your computer. In any other project, Add to this project brings those patterns in again. A project keeps the patterns it uses, so it opens the same on another computer.